
Last updated October 16, 2026
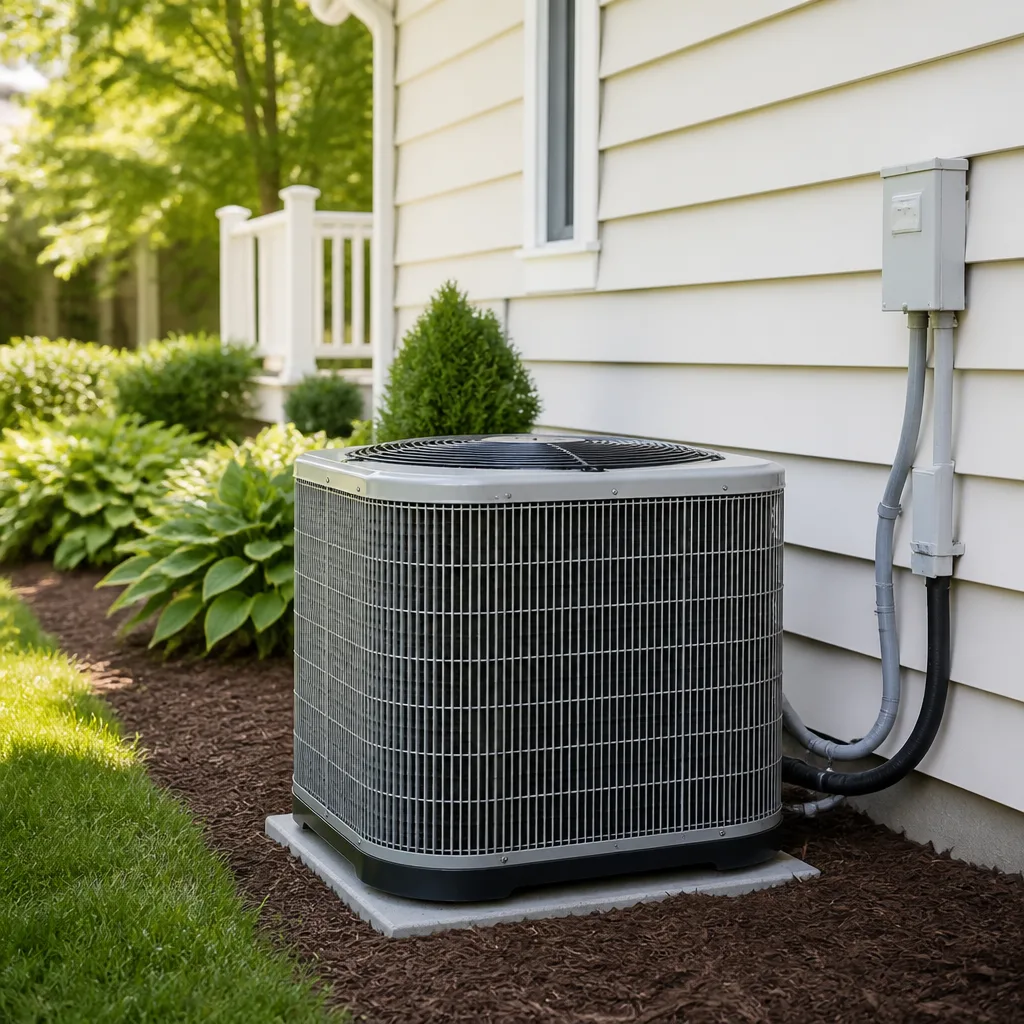 AC repair
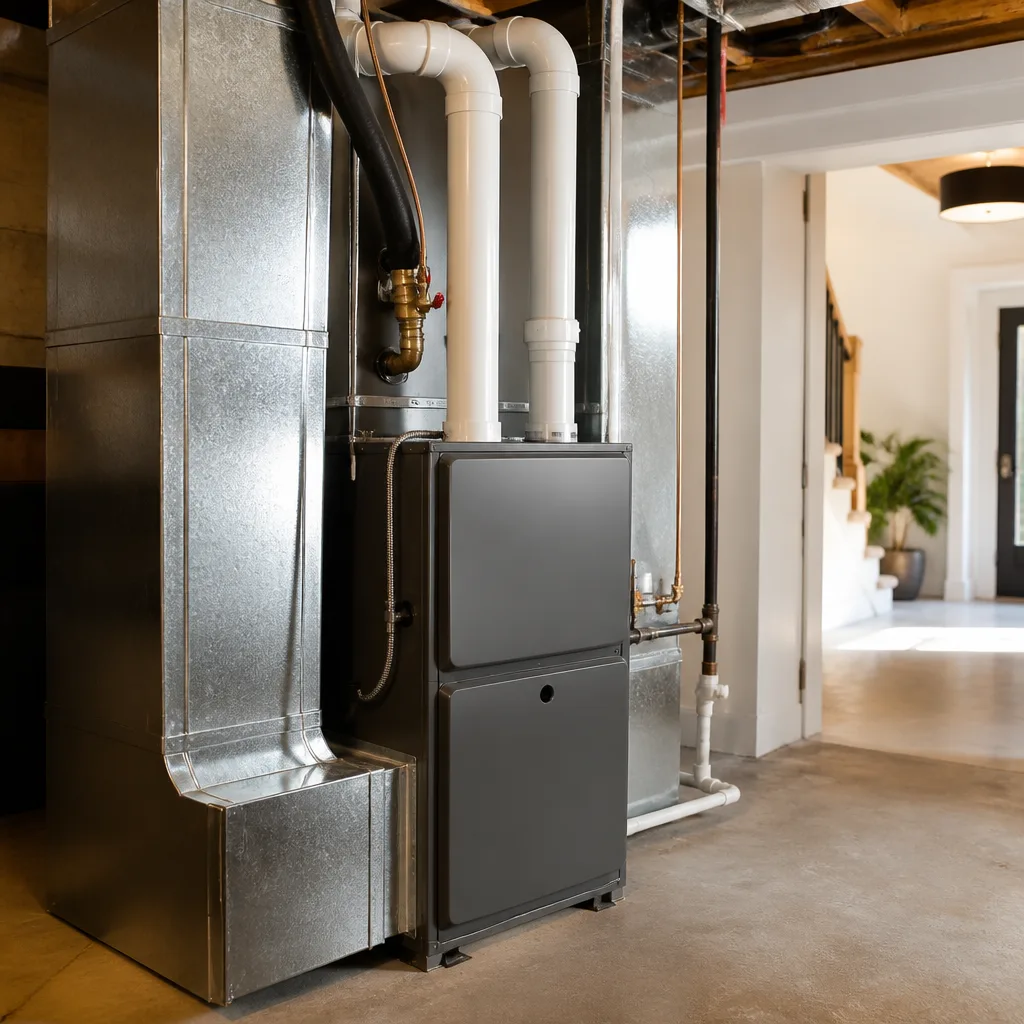 Furnace & heating
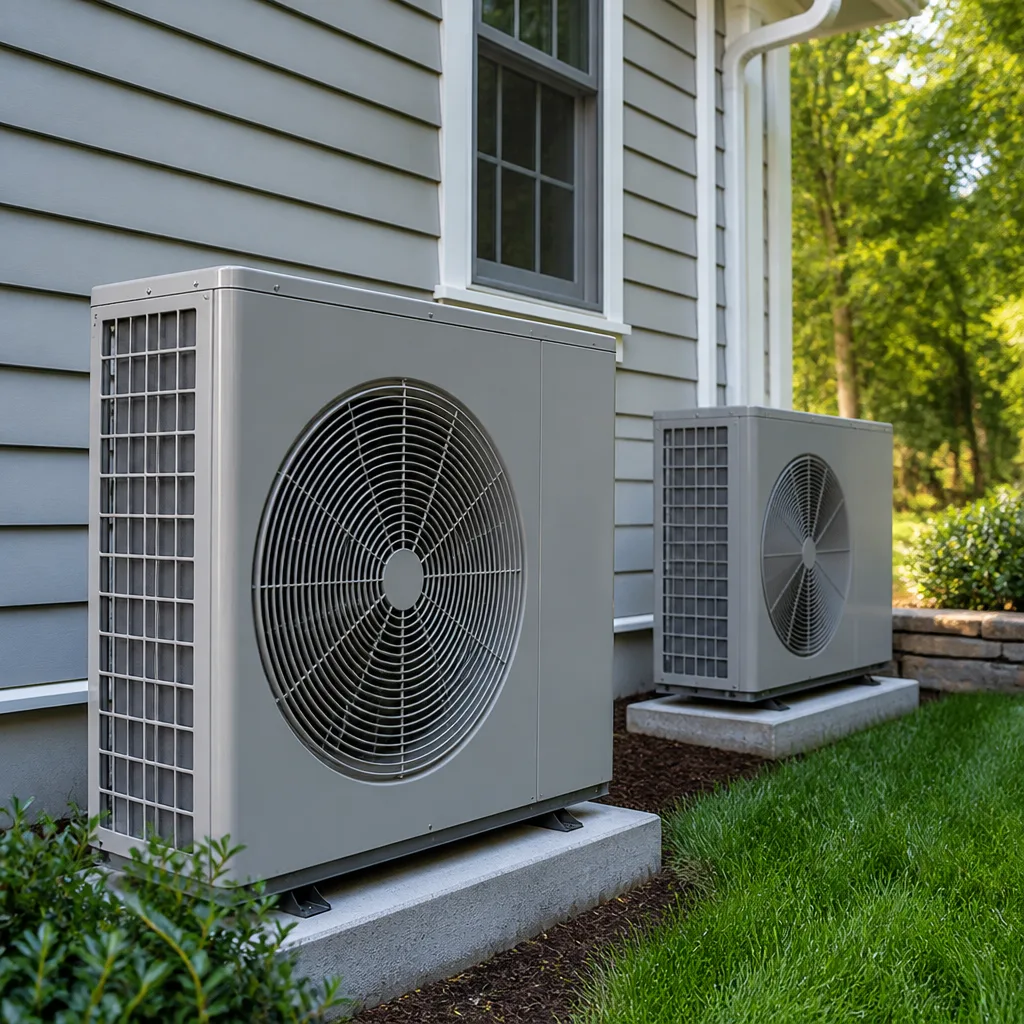 Heat pumps
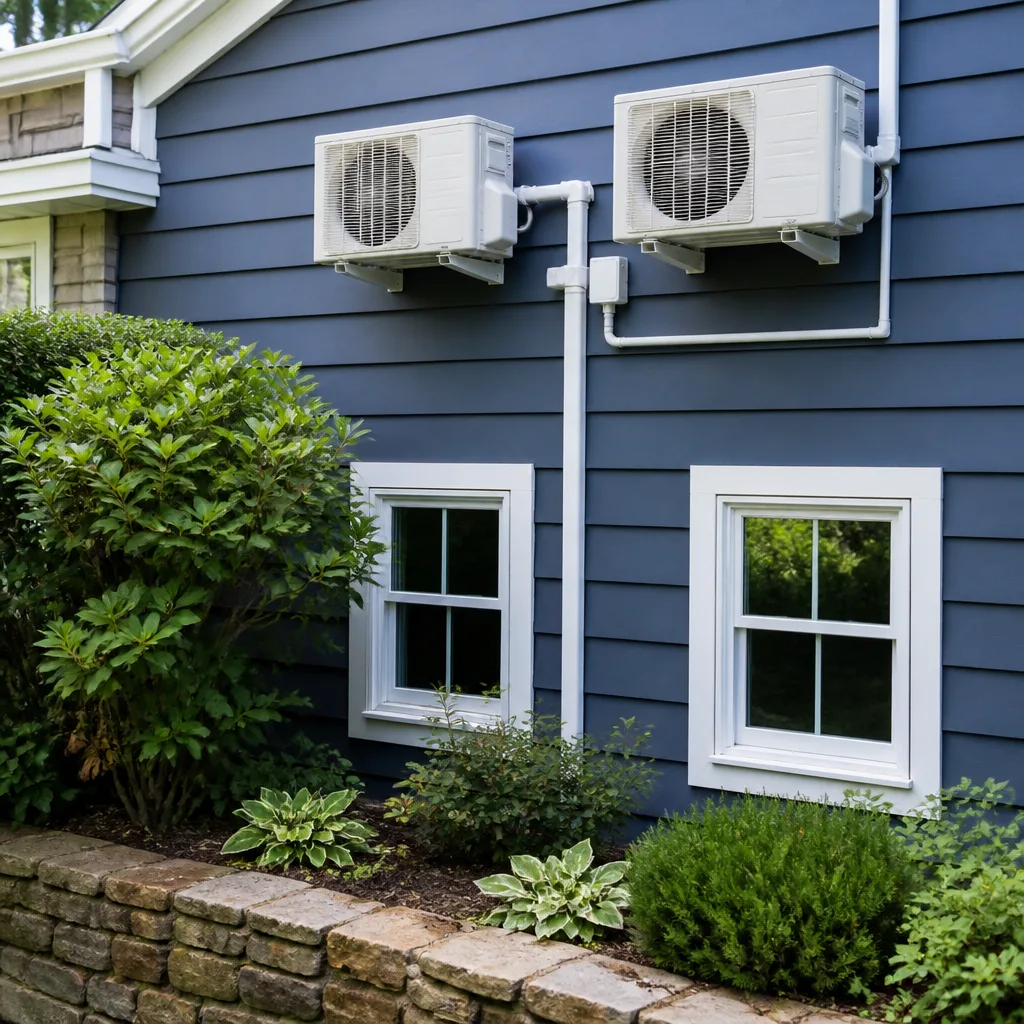 Ductless mini splits
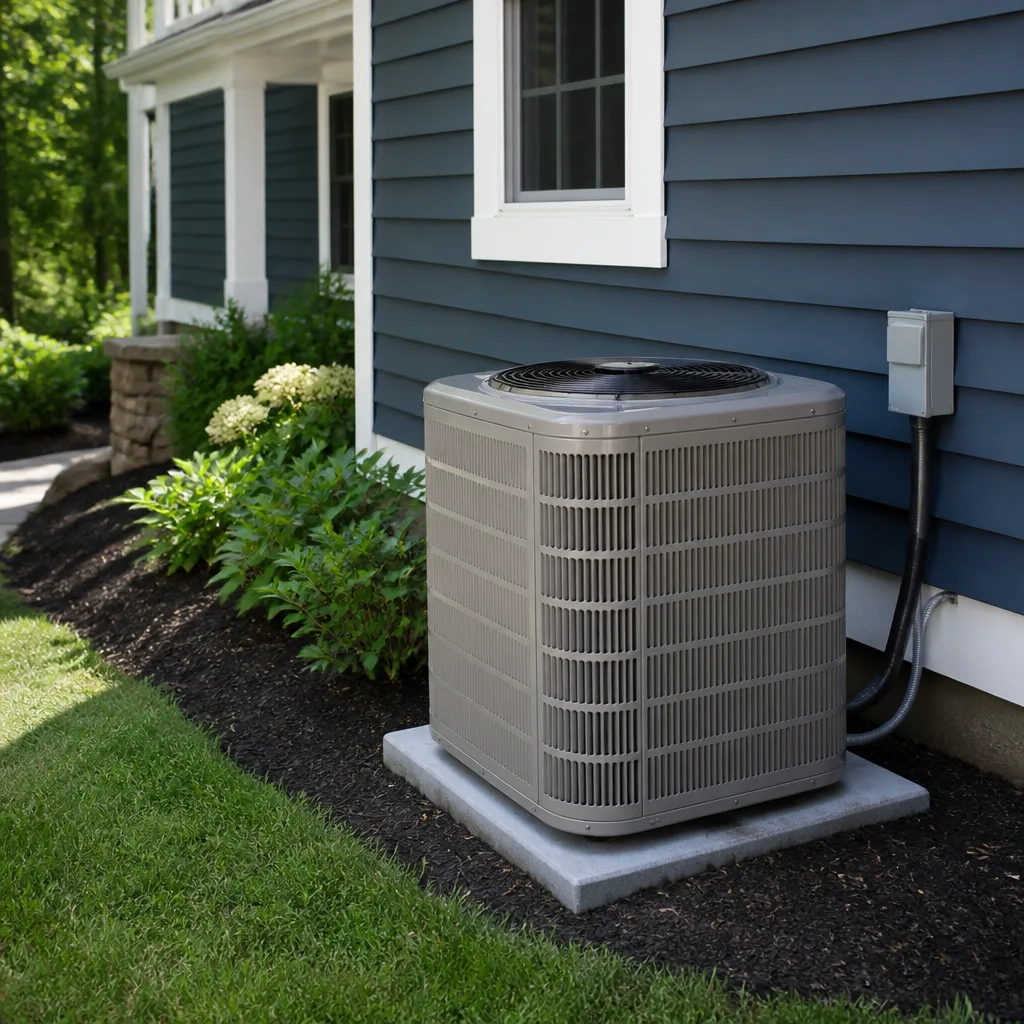 Carrier
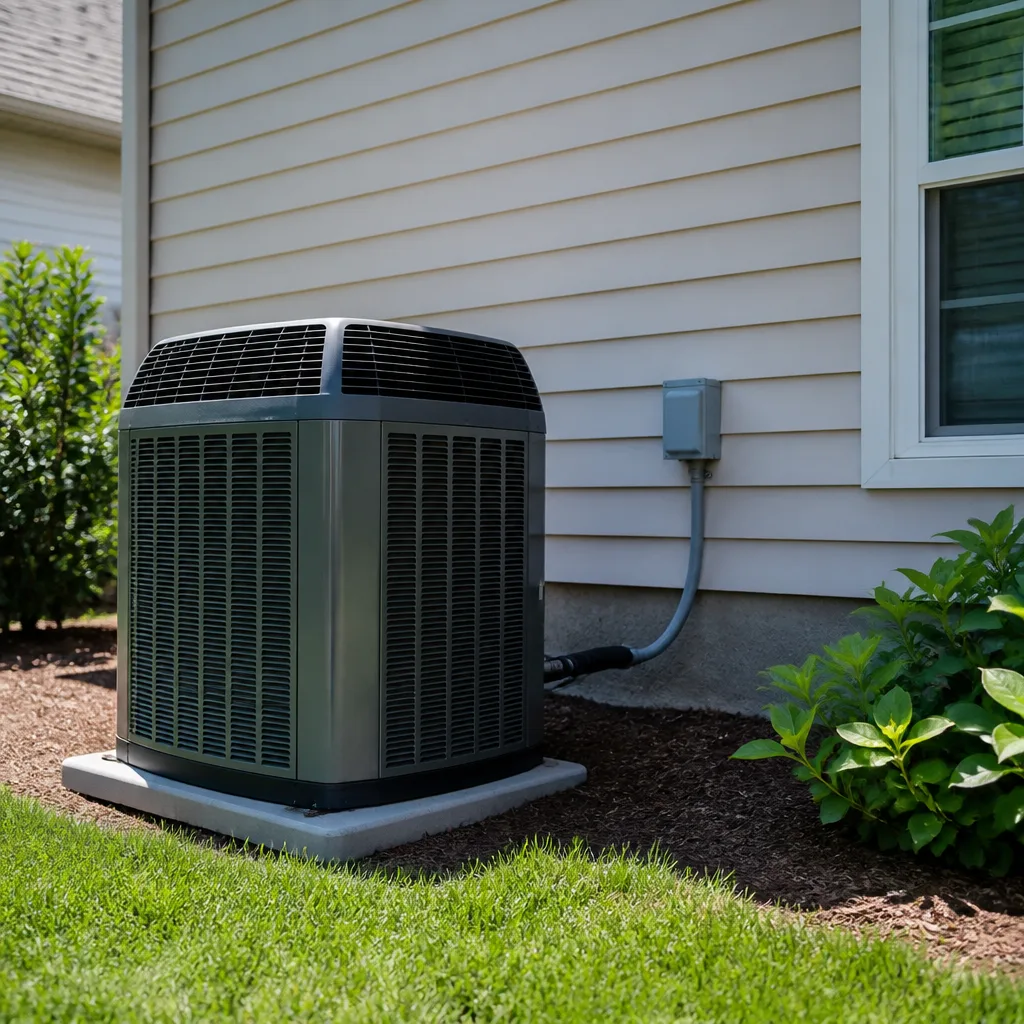 Trane
Trane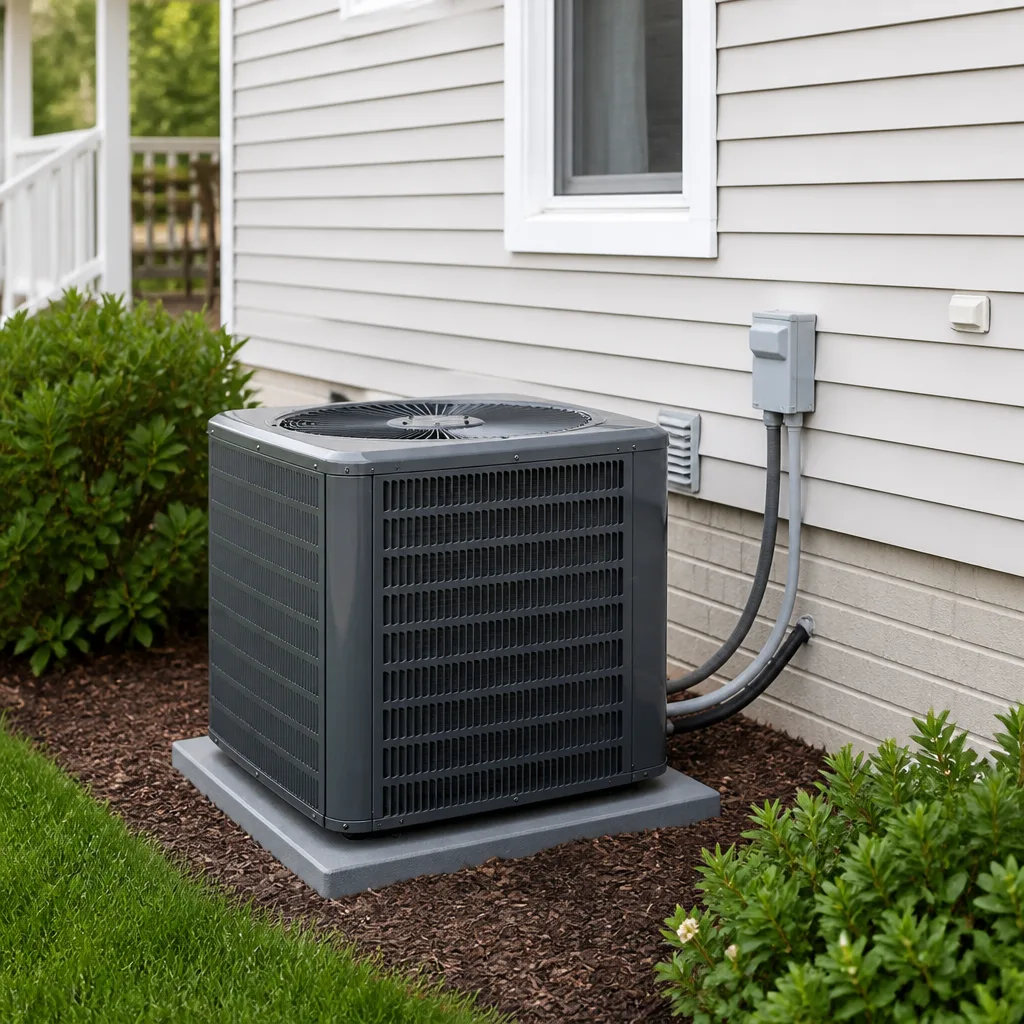 Goodman
Seasonal tune-up and full diagnostic on your Carrier, Trane, or Goodman system - readings shown to you before any repair is proposed
Diagnosis first, numbers second - you approve the repair price before a single part goes in.
Get your free estimateAC Repair Maintenance Checklist for San Antonio Homeowners
A standard “spring tune-up” checklist assumes your AC has been resting all winter. In San Antonio, where cooling runs can stretch from March through November, your system may have logged 3,000 hours by the time that checklist tells you to check the refrigerant. Homeowners here don’t need a seasonal snapshot. They need a rolling, month-tagged schedule that accounts for when the system is under peak stress and when the rare cool window allows deeper work. This guide covers the tasks that actually matter in Bexar County, from cedar fever coil buildup to CPS Energy bill forensics, and it explains which jobs are safe for a homeowner and which ones void warranties the moment you touch them. For a deeper dive into local climate considerations, see our The Complete Guide to HVAC in San Antonio.
Styles & brands we work with
Quick Answer
An AC maintenance checklist for San Antonio homeowners should follow a month-by-month schedule rather than a once-a-year tune-up: check and replace filters every 30 – 45 days year-round, flush the condensate drain line every 60 days during cooling season, clean outdoor coils after oak pollen and cedar fever peaks, clear live oak debris from the condenser unit weekly from March through June, and have a licensed technician inspect refrigerant charge, capacitors, and electrical connections every spring before the first 95°F stretch. Homeowners can safely handle filters, drain line flushing, and debris clearance, but refrigerant handling, coil deep-cleaning, and electrical inspection should stay with a licensed professional to protect manufacturer warranties. Expect to spend $75 – $150 on DIY maintenance annually and $110 – $250 for a professional tune-up in San Antonio.
Table of Contents
- Why San Antonio’s Cooling Season Reshapes the Standard Checklist
- The Month-by-Month San Antonio AC Maintenance Calendar
- Filter Swap Cadence for San Antonio Dust, Pollen, and Pet Dander
- Coil Cleaning Frequency and the Cedar Fever Factor
- Reading Your CPS Energy Bill for Early Warning Signs
- Outdoor Unit Clearance, Shade, and Live Oak Root Zones
- What a Homeowner Can Safely Do vs. What Voids Warranties
- Common Mistakes to Avoid
- When to Call a Professional
- Frequently Asked Questions
- The Bottom Line
Why San Antonio’s Cooling Season Reshapes the Standard Checklist
San Antonio doesn’t have a cooling season in the way Minneapolis or Boston does. Our AC systems run hard from March through November, with only a two-to-three-month stretch of genuine downtime from December through February. Even then, south Texas winters are unpredictable. A 78°F day in mid-January sends many thermostats back to “cool.” The National Weather Service records an average of 106 days per year at or above 90°F in San Antonio, and the city routinely sees stretches where nighttime lows don’t drop below 80°F between June and August. That means your compressor and condenser fan aren’t just working during the day. They’re cycling at 2 a.m. while the rest of the house sleeps.
This near-continuous operation changes the math on maintenance. A system that runs 3,000 hours a year needs parts inspected and replaced on a different schedule than one that runs 1,200 hours in a northern climate. Capacitors, contactors, and fan motors wear out faster here because they cycle more often. Condensate drain lines clog more quickly because humidity levels stay high for months. And the fine caliche dust that blows across Bexar County settles on coil fins and inside the outdoor cabinet, insulating the very surfaces designed to shed heat. Any checklist built for a generic “spring tune-up” is already behind schedule by the time San Antonio hits its first 90°F day in late March or early April.
We’ve worked on systems in Alamo Heights, Stone Oak, Helotes, and Windcrest, and the story is the same: the homeowners who follow a rolling, month-tagged maintenance plan spend less on repair and replace their equipment less often than neighbors who call only when something breaks. The checklist below reflects what we’ve learned from two decades of service work in this specific climate.
The Month-by-Month San Antonio AC Maintenance Calendar
The single most useful thing you can do for your AC in San Antonio is stop thinking about maintenance as a seasonal event. Think of it as a monthly rhythm, like paying your CPS Energy bill or mowing the St. Augustine. Here is the exact calendar we recommend to our own customers, timed to the temperature curve in San Antonio rather than a generic “spring” or “fall” bucket.
- January and February (cedar fever peak): Replace your air filter every 20 – 25 days instead of the usual 30 – 45. Juniper and mountain cedar pollen from the Hill Country arrive in January and February at levels that can coat a filter within two weeks. A clogged filter forces the blower motor to work harder, and when the system isn’t cooling intensely, restricted airflow can hide for months. While you’re at it, pour one cup of white vinegar down the condensate drain line to dissolve early slime buildup. Then start watching your CPS Energy bill. January and February bills reveal how inefficiently your system ran in December and early January, which is your baseline before cooling load begins.
- March (first 80°F days): Walk outside and inspect the condenser unit. After winter winds, the coil fins are often packed with leaves, grass clippings, and dust from the dry months. Flush the coil gently with a garden hose set to low pressure, spraying from the inside out if your unit design allows. Check that the concrete pad hasn’t shifted and that the unit sits level. An unlevel unit strains the compressor. Schedule your professional spring inspection now, before the first real heat wave, so you’re not competing with emergency calls when the first 100°F day hits.
- April and May (transition to continuous cooling): Switch to a monthly filter check. Listen to the system at startup. A hard start, a loud buzz from the outdoor unit, or a metallic rattle from the indoor blower all signal wear before a full breakdown. Trim any vegetation that has grown within 24 inches of the condenser. Live oak leaves are at their peak drop rate in April, and they find their way into the coil fins with remarkable precision. Run the system for one full cooling cycle with the thermostat set at 75°F and time how long it takes to drop two degrees. Write that number down. You’ll compare it in August.
- June through August (peak load): Check the filter every two weeks if you have pets or if the system runs continuously. Inspect the condensate drain line once a month. In 95°F-plus heat with high humidity, a clogged drain line can overflow in 48 hours and soak drywall, flooring, or whatever you store in the hall closet. Watch your CPS Energy bill carefully. If your usage jumps more than 15% year-over-year with no change in thermostat setpoint, you have an efficiency problem starting. This is the stretch where a failing capacitor or a slow refrigerant leak reveals itself as a system that runs constantly and never quite satisfies.
- September and October (second cooling shoulder): San Antonio is still hot, but the nights begin cooling. This is your second window for any deeper work that requires shutting the system down for a few hours. Replace the filter even if it looks decent. After a full summer of continuous duty, the evaporator coil needs a professional inspection more than ever in October. Dust and humidity have had six months to create biological growth. If you haven’t scheduled a professional tune-up since spring, now is the time, before furnace season overlaps with the last heat waves.
- November and December (transition to heat): If your system uses a heat pump, switch your maintenance mindset to the reversing valve and defrost cycle. If you have a gas furnace paired with an AC condenser, now is the time to service the furnace and leave the AC in its winter rest. In either case, keep the outdoor unit clear of falling leaves. Oak leaves from December and January windstorms pack into the base pan and hold moisture against the coil for months. One final filter replacement in early December protects the blower motor through whatever heating load winter brings.
This rolling schedule puts about 20 minutes of DIY work per month into your system and one professional visit per year, timed in March or April. That’s the entire maintenance burden. It is not much, and it pays for itself in avoided repair calls.
Filter Swap Cadence for San Antonio Dust, Pollen, and Pet Dander
San Antonio has a dust problem. The dry, caliche-heavy soil of Bexar County and the Hill Country produces fine particulate that finds its way into return ducts, filter media, and eventually coil surfaces. Add the city’s two notorious pollen seasons, cedar fever in January and February and oak pollen in March and April, and the standard “change your filter every 90 days” advice from national HVAC blogs is wrong for this market. A 90-day filter in San Antonio is a clogged filter by day 45, and by day 60 it is actively restricting airflow, forcing the blower motor to run harder, and reducing the system’s ability to dehumidify your home.
Here is the filter cadence we recommend based on what we see in homes across San Antonio:
- Homes with no pets and minimal carpet: check every 30 days, replace every 45 days during cooling season. In winter, if the AC isn’t running, 60 days is acceptable.
- Homes with one or two indoor pets: check every two weeks from March through November, replace every 30 days. Pet hair and dander load on filters in San Antonio is compounded by the amount of outdoor dust pets track inside.
- Homes with three or more pets or a resident with allergies: replace every 21 – 28 days year-round. Consider a MERV 11 or MERV 13 filter during cedar and oak pollen season, but be aware that high-MERV filters restrict airflow on single-stage systems. If you’re not sure your system can handle a high-MERV filter, a professional can measure static pressure and tell you.
- Homes near construction or on unpaved roads (common on the far west and south sides): check every two weeks during dry months. Construction dust from new developments in areas like Culebra Road and the Highway 211 corridor is relentless.
- Vacation homes or rentals: replace the filter before every guest turnover between March and October. A clogged filter is the most common cause of an AC failure at a short-term rental in peak season.
The filter’s job is to protect the evaporator coil and blower motor, not to purify the air in your living room. A dirty filter means dirty coil, and a dirty coil is the fastest route to a frozen system and a repair bill. The $12 – $25 you spend on a quality pleated filter every month is the cheapest insurance you’ll ever buy for your HVAC system.
Coil Cleaning Frequency and the Cedar Fever Factor
In most of the country, evaporator coils get dirty because of poor filtration. In San Antonio, the outdoor condenser coil gets dirty because of what blows through the air. Two pollen seasons, construction dust, and months of dry soil mean the outdoor coil’s aluminum fins accumulate a layer of grime that acts as an insulator. The coil’s entire job is to shed heat from the refrigerant to the outdoor air. Every millimeter of dust on those fins reduces that heat transfer, which forces the compressor to run at higher discharge pressures and temperatures. Higher temperatures shorten compressor life. It’s a direct line from dirty coil to compressor replacement, and compressor replacement on a modern system is often close to $2,000 – $3,500.
The timing of coil cleaning in San Antonio matters. Here is the schedule that aligns with what actually falls out of the air:
- Late January to early February (cedar fever): Juniper pollen from the Hill Country is at its peak. The pollen is light, sticky, and binds to coil fins. A coil can lose 10 – 15% of its heat transfer capacity in a single bad cedar season if the unit runs during warm winter spells. Visually inspect the coil in February. If you see a yellow-brown film on the fins, rinse gently with a garden hose set to low pressure, never a pressure washer.
- April to May (oak pollen and live oak leaf drop): Oak pollen loads the coil again, and live oak leaves from March through May find their way into the bottom of the condenser cabinet. The leaves trap moisture against the coil, which accelerates corrosion and creates a breeding ground for mildew on the coil surface. Remove the leaves by hand or with a soft brush, then rinse. In neighborhoods with dense live oak canopy like Terrell Hills, Alamo Heights, and Olmos Park, this cleanup may be needed weekly during April.
- September (post-summer dust loading): By the end of a San Antonio summer, the coil has accumulated dust, dirt, and whatever the monsoon-season winds carried. A rinse in late September sets the system up for better efficiency through the fall shoulder season and into winter heat pump operation.
Annual professional coil cleaning uses a foaming, non-acidic cleaner that lifts embedded grime without corroding aluminum fins. We recommend a professional coil cleaning as part of the annual tune-up, ideally in March or April. On brand-name equipment from Trane, Carrier, Bryant, and American Standard, coil cleaning is explicitly listed in the maintenance section of most installation manuals, and skipping it can contribute to a denied warranty claim if a compressor failure is traced to overheating from a dirty coil.
Reading Your CPS Energy Bill for Early Warning Signs
Your CPS Energy bill is the cheapest diagnostic tool you own. Long before an AC system shows visible symptoms, such as weak airflow or strange noises, it leaves a signature in your kilowatt-hour consumption. Most San Antonio homeowners pay attention to the dollar amount at the bottom of the bill and ignore the usage data that explains it. That usage data, tracked over 12 to 18 months, will tell you the story of your system’s efficiency with more reliability than any blinking LED code on a control board.
Here is how to read the bill like an HVAC diagnostician:
- Pull your last 13 months of usage. CPS Energy makes this available in the My Energy dashboard. You need a full year to see the seasonal curve.
- Identify your baseline month. For most San Antonio homes, January or February is the lowest cooling usage month. That’s your household’s non-AC electrical load: lights, appliances, water heater, electronics. Write that number down.
- Compare same-month year-over-year. A July that uses 2,800 kWh when last July used 2,300 kWh is a red flag, especially if your thermostat setpoint hasn’t changed and your household size is the same. That 500 kWh difference at CPS Energy’s summer rates could be an extra $60 – $100 per month attributable to an inefficient AC system.
- Watch for the “shoulder creep.” This is the subtle one. If you’re using the AC in April and October more than you used to, but the outdoor temperature data from those months is similar, the system may be losing capacity. It runs longer to hit the same setpoint. The bill rises before you notice that the system “doesn’t feel as cold.”
- Rule out changes first. A new pool pump, a new electric vehicle, a new baby in the house (more laundry, more dishwashing), or a new home office setup will all increase usage independently. If none of those changed and the AC is the only variable, the system is the problem.
A 10 – 15% year-over-year jump in cooling-season usage with no lifestyle change is worth a professional diagnosis. In our experience, the three most common causes are: a slow refrigerant leak, a failing dual-run capacitor causing the compressor to start inefficiently, or a condenser coil that hasn’t been cleaned in years. All three are fixable. None of them get better on their own.
Outdoor Unit Clearance, Shade, and Live Oak Root Zones
Where the condenser sits and what surrounds it matter more in San Antonio than in most cities. The combination of intense summer sun, dense live oak canopy, and the way San Antonio landscaping tends to grow over the course of a decade means that units that started with perfect clearance in year one are half-buried in shrubs, branches, and mulch beds by year five. Every one of those encroachments reduces airflow, and reduced airflow means reduced efficiency at best and compressor failure at worst.
Clearance rules for San Antonio condensers
- Top clearance: At least 4 – 5 feet of open air above the condenser fan. Live oak branches hanging 2 feet above the unit redirect hot discharge air downward, which raises head pressure and strains the compressor.
- Side clearance: At least 24 inches on all four sides. Two feet is the manufacturer minimum on most Trane, Carrier, and Bryant condensing units. If your condenser sits in a fenced enclosure built by a previous owner, make sure the enclosure has open-air gaps equal to the full side panel area, not just a quarter of it.
- Ground clearance: The condenser should sit on a level concrete or composite pad at least 3 inches above grade. In low-lying areas of San Antonio that are prone to standing water after heavy rain, a raised pad prevents rust and water intrusion into the electrical compartment.
- Vegetation clearance: Keep shrubs, ornamental grasses, and perennials at least 24 inches back from the unit. In growing season from April through October, trim monthly. The goal isn’t just airflow. It’s also keeping grass clippings from a mower’s side discharge from coating the coil fins while they’re wet and sticky.
Shade: the two-sided question
A shaded condenser uses less electricity than one sitting in full afternoon sun. That part is simple. What’s less obvious is that the wrong kind of shade, such as dense live oak canopy, trades one problem for another. Live oaks drop leaves, pollen, and acorns directly onto the unit. Their fine roots, which run near the surface, can crack a poorly poured concrete pad over time. The tree’s canopy also traps the hot discharge air beneath it, recirculating it back into the condenser intake. Do not plant a new live oak near a condenser expecting it to be a shade solution. If you inherit that situation, the right move is to have the canopy selectively thinned above the unit and to commit to weekly leaf removal during the spring drop.
A better shade solution for San Antonio is a trellis or shade sail positioned to block direct afternoon sun while maintaining at least 4 feet of open air above the unit. Full sun from 3 p.m. to 7 p.m. in July and August is when the condenser works hardest, and anything that keeps direct radiation off the coil fins in those hours without suffocating the unit helps efficiency. The annual tune-up is a good time to walk the condensing unit area with a professional and inventory what has grown since last year.
What a Homeowner Can Safely Do vs. What Voids Warranties
There are three tiers of AC Repair services and maintenance: what you should do yourself, what you should have a professional do, and what will void your equipment warranty if you attempt it. The line between tier one and tier three is not always obvious, and crossing it can cost thousands of dollars in denied warranty coverage on a compressor or coil replacement.
Tier 1: Safe DIY tasks. These are the jobs that require no specialized tools, no electrical exposure, and no refrigerant handling. Every San Antonio homeowner should do these on the monthly schedule described above:
- Replacing the air filter.
- Flushing the condensate drain with vinegar or warm water.
- Gently rinsing the outside of the condenser coil with a low-pressure garden hose (power washer OFF).
- Removing leaves, grass clippings, and debris from the base pan and around the unit.
- Visually checking the outdoor disconnect box for signs of rust, corrosion, or insects.
- Listening for unusual startup sounds and watching for short-cycling.
Tier 2: Professional-only tasks that protect the warranty. These three tasks appear on nearly every manufacturer’s warranty documentation under the “owner’s responsibilities” section, and the language is consistent across brands: failure to have these performed by a licensed contractor may void coverage for related component failures.
- Refrigerant charging and leak repair. Federal law requires EPA Section 608 certification to handle refrigerant. A homeowner cannot legally buy R-410A or R-32 anyway. More importantly, if a compressor fails and the manufacturer sees evidence that the system was running undercharged or overcharged, the warranty claim is dead on arrival.
- Deep coil cleaning with chemical solvent. Foaming coil cleaners used incorrectly can corrode aluminum fins. If you don’t rinse thoroughly, the residue becomes a thermal insulator. Manufacturers want documentation of professional coil cleaning, especially in dusty climates like San Antonio’s.
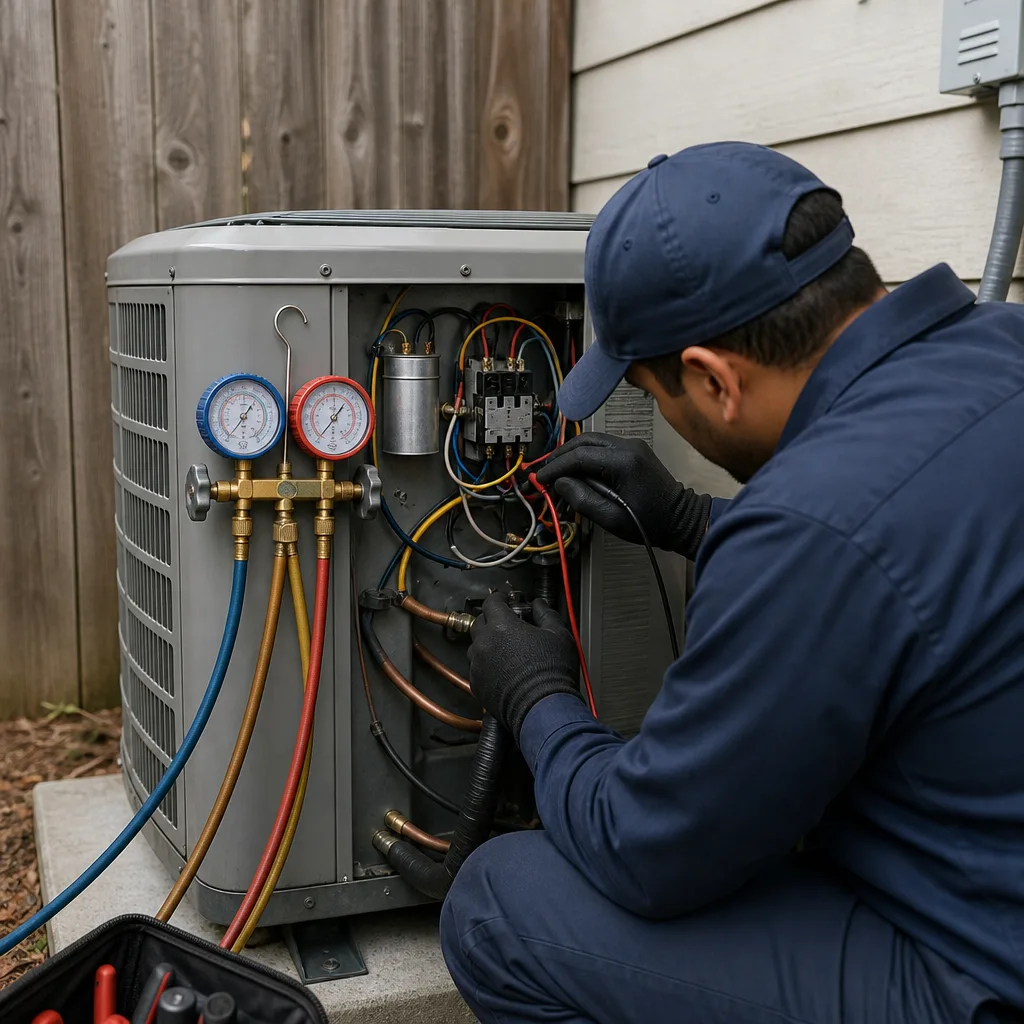
- Electrical inspection and capacitor testing. The capacitor stores a charge that can injure or kill even with the power to the unit shut off. A dual-run capacitor that is weak, bulging, or leaking electrolyte is the single most common cause of AC failures in San Antonio summers. Testing and replacing it safely requires a meter and a proper discharge procedure.
The role that saved us countless warranty headaches: if a system is under its 10-year parts warranty, and the homeowner has a record of annual professional maintenance, the claim proceeds smoothly. Not sure whether to DIY or call a pro? Read our DIY vs Professional HVAC: The San Antonio Homeowner’s Decision Guide. If the system failed at year three with no maintenance history and signs of neglect at the condenser, the manufacturer often asks questions. Documentation matters as much as the maintenance itself.
Common Mistakes to Avoid
- Using a pressure washer on the outdoor coil. A pressure washer folds the aluminum fins flat against each other, permanently destroying heat transfer. Once fins are folded, air can no longer pass through the coil. The fix is fin combing, which is time-consuming and never fully restores the original efficiency. Garden hose pressure only, and spray from the inside out when possible.
- Waiting until the first 100°F day to schedule a tune-up. By the time San Antonio hits triple digits in June, every HVAC company’s schedule is packed with emergency calls. The March and April window is when you can get a same-week appointment and a technician who has time to do the job carefully rather than rushing to the next no-cool call.
- Closing too many vents to “save money.” Closing vents increases static pressure in the duct system, which stresses the blower motor and reduces airflow across the evaporator coil. A system with too many closed vents can freeze the coil on a humid San Antonio day. The fix is a service call, which costs far more than the money you saved on the bill.
- Installing a high-MERV filter on a system that can’t handle it. MERV 13 filters are excellent for allergy sufferers during cedar and oak pollen season, but they restrict airflow on systems not designed for that level of filtration. The blower motor works harder, and the evaporator coil gets less air. Have static pressure measured before upgrading filter ratings.
- Ignoring the condensate drain line until it overflows. A clogged drain line is usually a $100 – $200 fix if caught early. Once the drain pan overflows and soaks drywall, flooring, or the contents of a closet, the repair becomes a $1,000-plus insurance claim. Monthly vinegar flushes during cooling season prevent most clogs.
- Planting new landscaping around the condenser without accounting for growth. A one-gallon vitex or Texas sage looks innocent when planted three feet from the unit. Five years later it is a six-foot wall blocking airflow on two sides. San Antonio homeowners underestimate how fast plants grow in this climate. Treat the condenser like a structure, not a planter.
When to Call a Professional
Some symptoms are beyond the scope of a checklist. If your system is short-cycling (turning on and off every five to ten minutes), the problem is likely a failing capacitor, low refrigerant, or an oversized system, and none of those resolve with a filter change. If you hear a loud buzzing or humming from the outdoor unit that wasn’t there before, stop running the system and make the call. That buzzing is often the compressor struggling against a failing capacitor or a locked rotor. If you see ice forming on the copper lines outside or on the indoor coil, the system is either low on refrigerant or starved for airflow. Running it in that condition can damage the compressor. If your CPS Energy bill shows a 15% or greater year-over-year jump with no lifestyle change, a professional diagnostic is the quickest way to identify the cause. AC repair in San Antonio doesn’t have to be an emergency. Meadowsweet Heating and Air San Antonio offers free estimates in San Antonio, call (254) 271-2545.
Frequently Asked Questions
A professional AC tune-up in San Antonio typically costs between $110 and $250, depending on the system age, brand, and whether coil cleaning is included. The annual service visit usually covers electrical inspection, refrigerant check, capacitor testing, drain line clearing, and coil inspection. DIY maintenance costs $75 – $150 per year in filters and drain line treatment. If you’re weighing the math, a single avoided compressor failure pays for about 15 years of tune-ups. Call (254) 271-2545 for an exact quote, estimates are free.
In San Antonio, most homes need a filter replacement every 30 – 45 days during cooling season, which runs from March through November. Homes with pets, allergy sufferers, or construction nearby may need replacement every 21 – 30 days. The cedar fever season in January and February can clog a filter in under three weeks even when the AC isn’t running heavily.
Yes. A system with a clean condenser coil, a fresh filter, and proper refrigerant charge uses 10 – 20% less electricity than the same system with a dirty coil and a clogged filter. On a peak summer bill of $300 – $400 in San Antonio, that’s $30 – $80 in monthly savings. The savings are largest in July and August when the system runs continuously.
Three things void most AC manufacturer warranties: homeowner handling of refrigerant, failure to have annual professional maintenance documented, and operating the system with incorrect parts or retrofit components. If your system is under the 10-year parts warranty, keep a file with your annual tune-up invoices. Manufacturers ask for that documentation when a compressor dies at year seven. A foldered maintenance history can save a $2,500 out-of-pocket repair.
It depends on what the service reveals. A 15-year-old system with a clean bill of health and a well-maintained history can run several more years, especially if it’s a high-quality brand like Trane, Carrier, or American Standard. But if the system needs a refrigerant recharge, a compressor, or a condenser fan motor, calculate the repair cost against the price of a new system. In San Antonio’s hot climate, systems typically last 12 – 18 years. AC installation in San Antonio is worth discussing if your current equipment is aging out and repair costs are stacking up.
The clearest signs are: the system runs constantly without reaching the setpoint, the copper line at the outdoor unit is covered in frost, or the indoor air feels humid even when the room temperature is cool. A refrigerant charge should never be a routine add-on, it should only be needed if there’s a leak, because refrigerant doesn’t wear out. If a technician says the system is “a little low” every year, there’s a leak that needs to be found and repaired. Call (254) 271-2545 for a diagnostic, estimates are free.
The Bottom Line
San Antonio’s AC maintenance calendar should look different from the generic spring-and-fall lists that populate most HVAC websites. The system runs nearly year-round here, the dust and pollen burden is relentless, and the summer heat punishes neglected equipment without mercy. A homeowner who follows a month-tagged schedule, swaps filters every 30 – 45 days, flushes the drain line every 60 days during cooling season, keeps the condenser clear of live oak debris, and watches the CPS Energy bill for efficiency creep will pay less for repairs and replace equipment less often. The one professional visit per year, timed in March or April, is the insurance policy that protects the warranty and catches problems before a 105°F afternoon turns them into emergencies. Whether you handle the monthly tasks yourself or want a crew that leaves the house the way they found it, Meadowsweet Heating and Air San Antonio home is here for the calls that matter. For furnace season service, see our furnace repair in San Antonio page. Most AC maintenance checklists are seasonal snapshots. This one is built for the city we live in.
Written by Luis Serrano, Owner at Meadowsweet Heating and Air San Antonio, serving San Antonio since 2004. Looking for more guides & resources?
See the difference
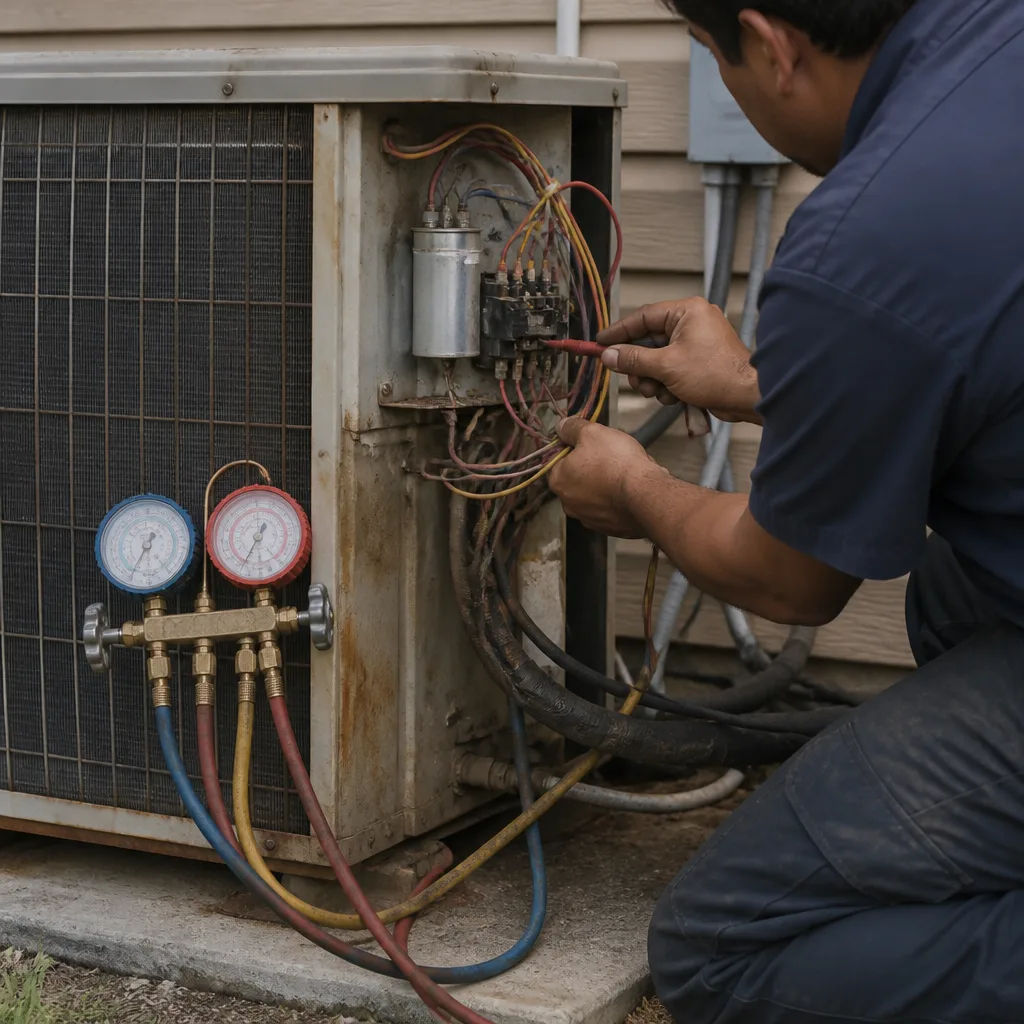 Before
 After
After Before
 After
After Before
 After
After