
Last updated October 16, 2026
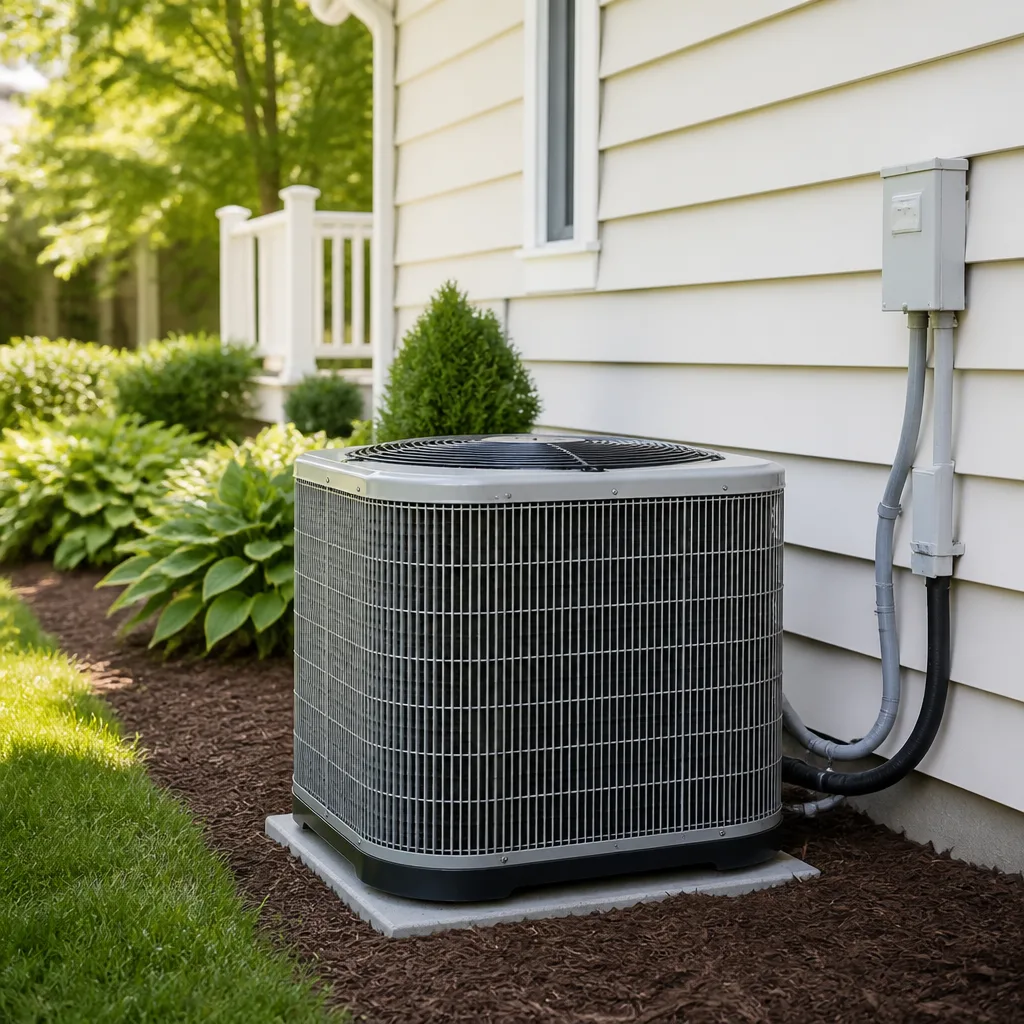 AC repair
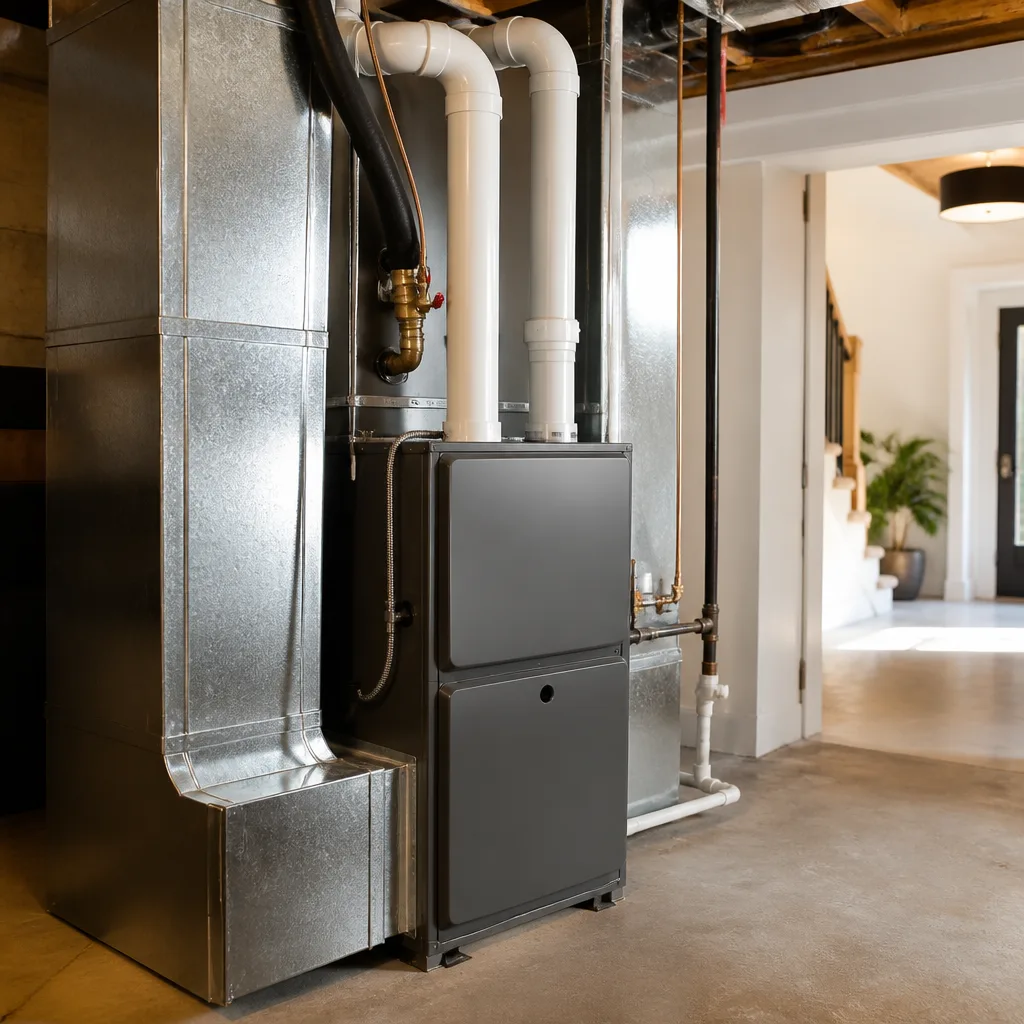 Furnace & heating
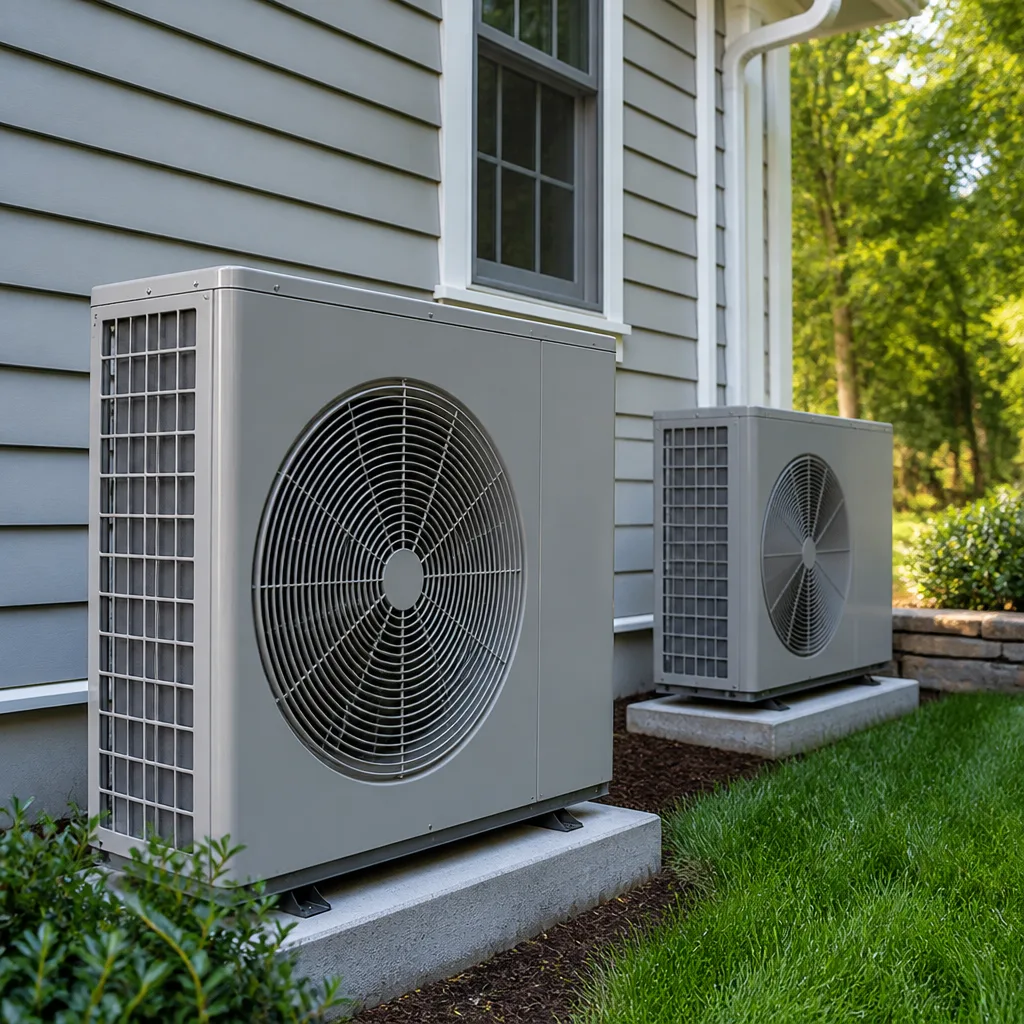 Heat pumps
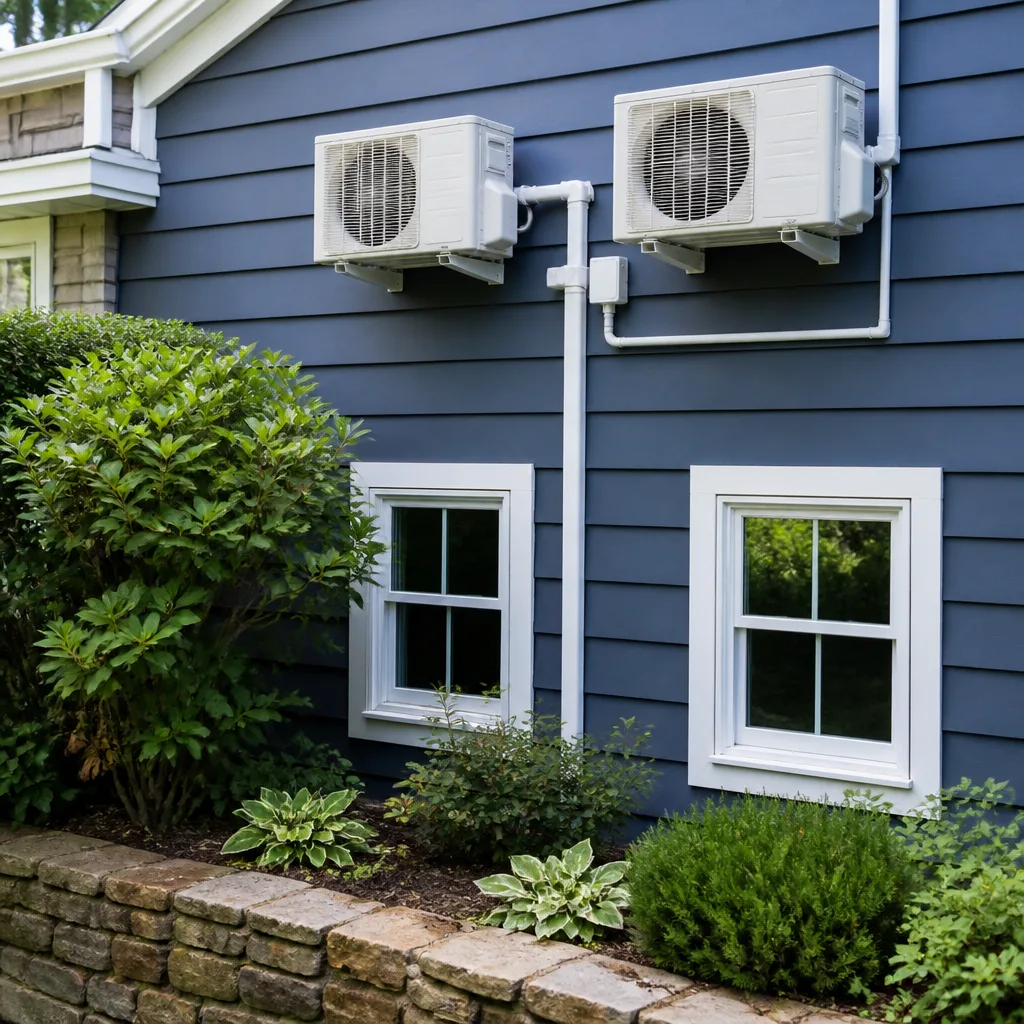 Ductless mini splits
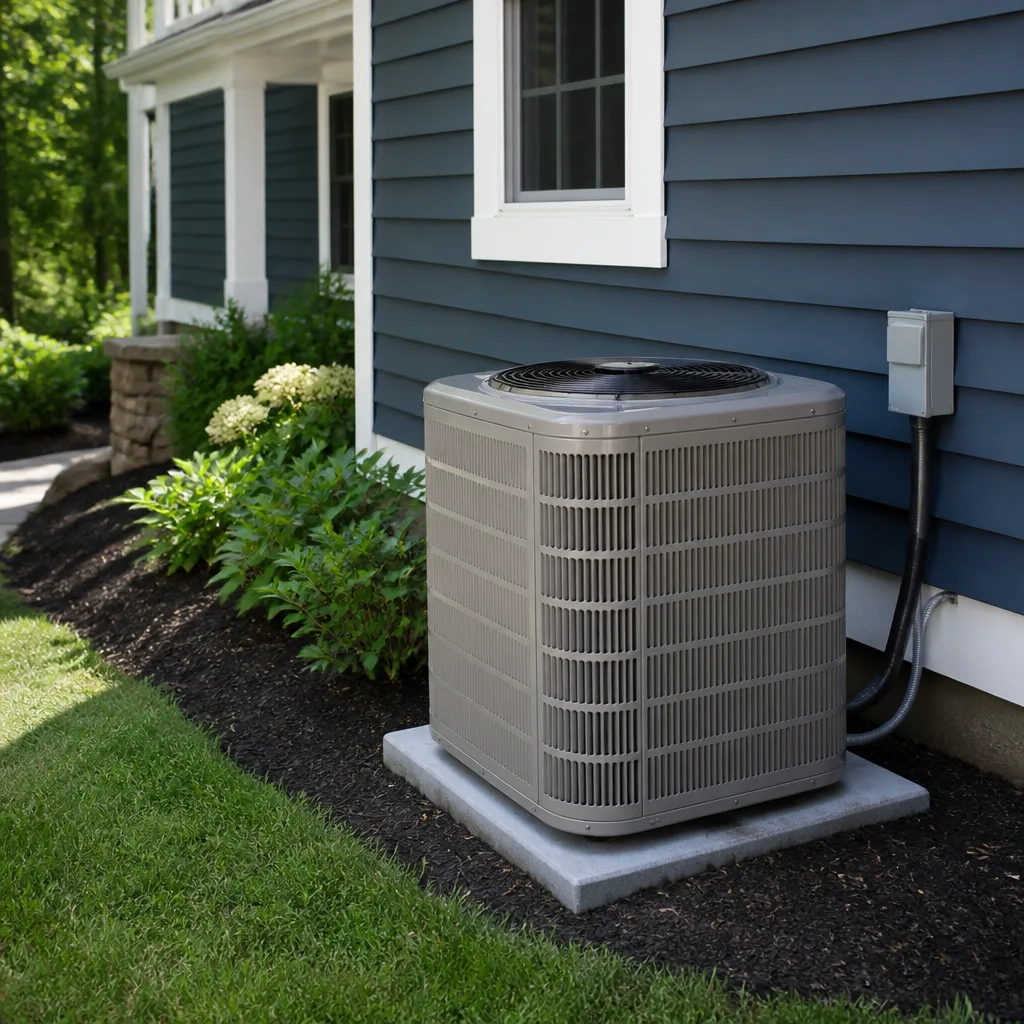 Carrier
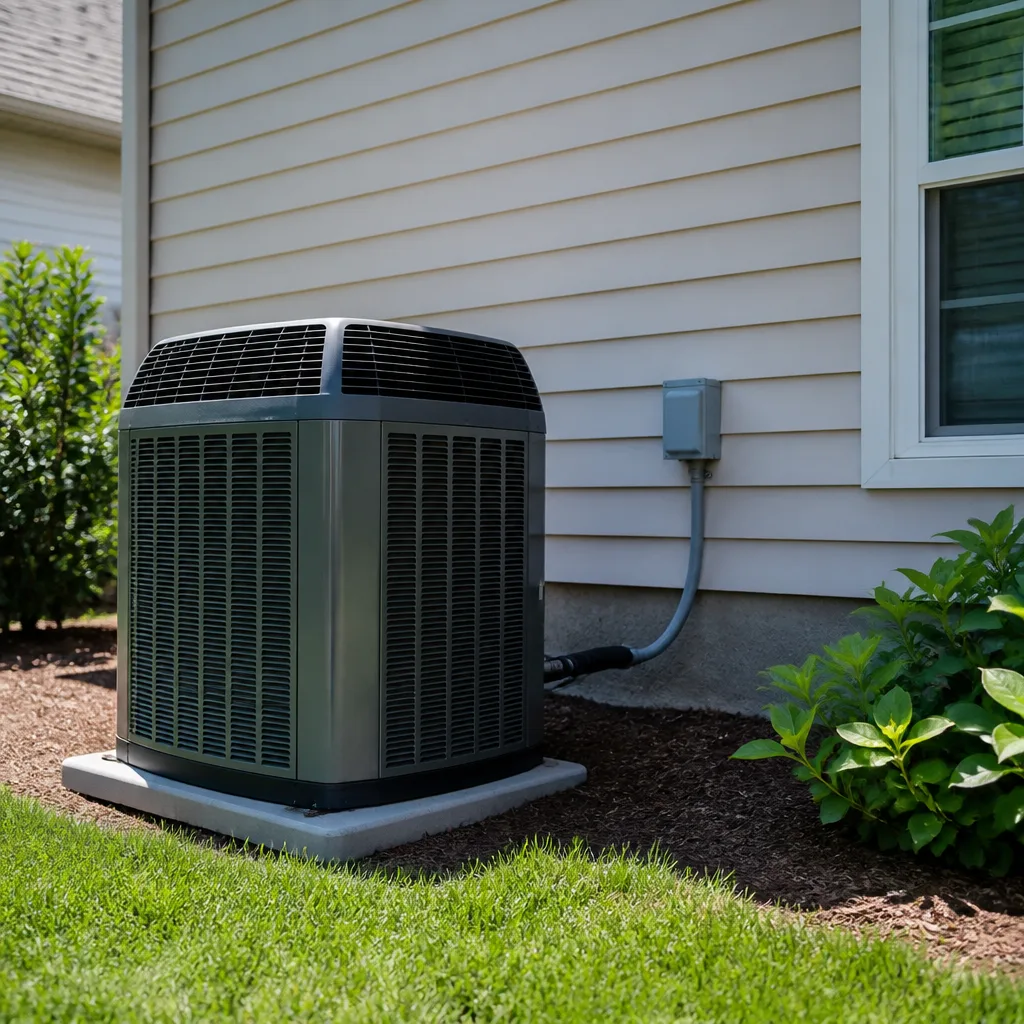 Trane
Trane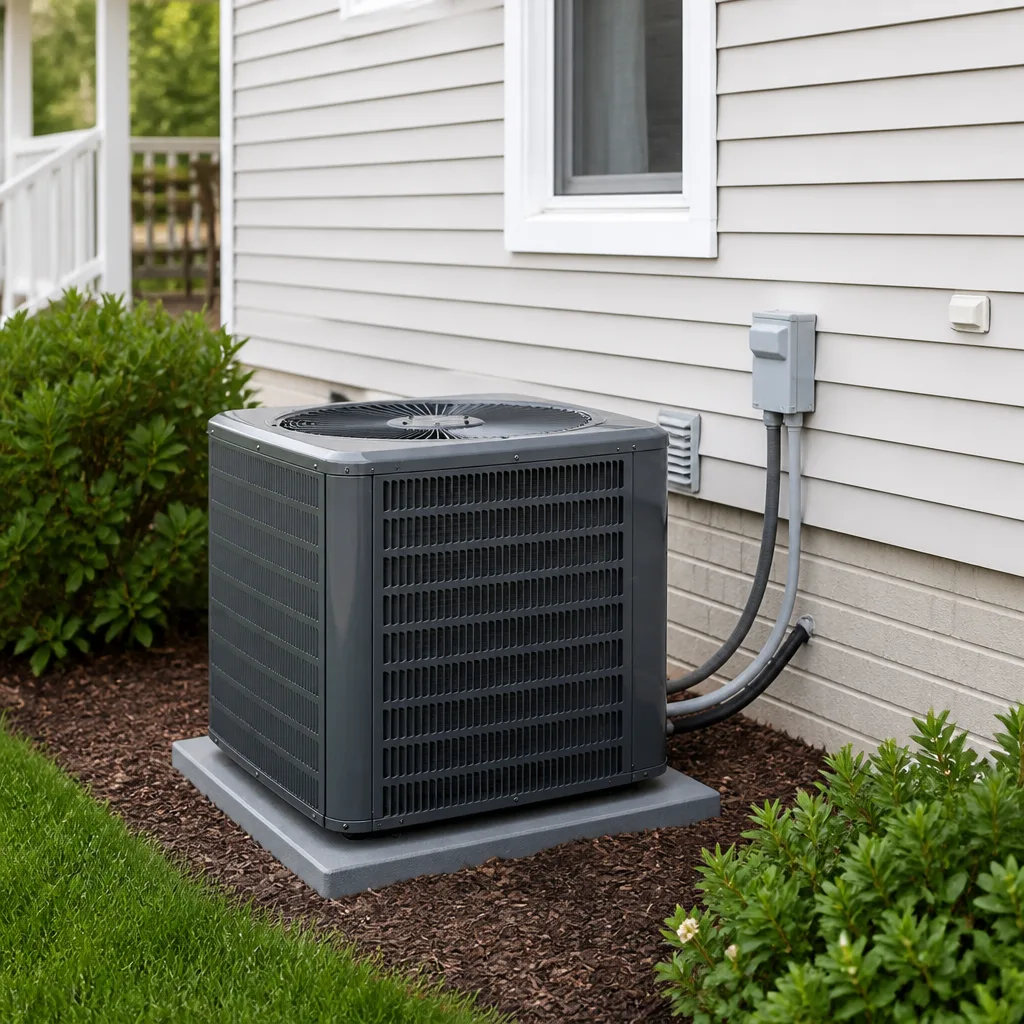 Goodman
Seasonal tune-up and full diagnostic on your Carrier, Trane, or Goodman system - readings shown to you before any repair is proposed
Diagnosis first, numbers second - you approve the repair price before a single part goes in.
Get your free estimateDIY vs Professional HVAC: The San Antonio Homeowner’s Decision Guide
Handling refrigerant without an EPA 608 certification is a federal violation with fines up to $44,539 per day. Meanwhile, cleaning your own condenser coil with a garden hose is not only legal – it’s something most HVAC technicians in San Antonio would applaud you for doing. The line between these two tasks is rarely explained clearly, and that silence costs homeowners real money every year: either in avoidable service calls or in self-inflicted damage that voids a manufacturer warranty. This guide draws the line precisely. You’ll learn which five HVAC tasks are genuinely safe and worthwhile to do yourself, which ones carry legal and warranty consequences in Texas, and how to make a proceed-or-call decision in under five minutes. For how to hire a HVAC contractor in San Antonio: a step-by-step guide when you need professional help, see our companion resource.
Styles & brands we work with
Quick Answer
San Antonio homeowners can safely handle five maintenance tasks themselves: filter replacement, condensate line flushing, thermostat programming, condenser coil cleaning, and outdoor unit clearing. Anything involving refrigerant, electrical components, gas lines, or new equipment installation requires a TDLR-licensed technician by Texas law. Attempting those tasks without a license can void your manufacturer warranty, trigger federal fines, and create safety hazards that escalate fast in San Antonio’s summer heat.
Table of Contents
- The Legal Map: What Texas Law Says About DIY HVAC Work
- The 5 DIY Tasks Worth Doing Yourself
- What Your Warranty Actually Says About DIY Repairs
- San Antonio-Specific Risks That Change the DIY Calculus
- The 3-Question Decision Framework
- Signs You’re Over Your Head: When the Unit Tells You to Stop
- DIY vs Professional: A Cost Comparison Table
- Common Mistakes to Avoid
- When to Call a Professional
- Frequently Asked Questions
- The Bottom Line
The Legal Map: What Texas Law Says About DIY HVAC Work
Texas regulates HVAC work through the Texas Department of Licensing and Regulation (TDLR). The rule is simpler than most people think: if a task involves refrigerant, electrical wiring, gas connections, or ductwork modification, it requires a licensed technician. That’s not a company policy or a suggestion – it’s state law under the Texas Air Conditioning and Refrigeration Contractor License Act.
Here’s the HVAC cost breakdown: the San Antonio homeowner’s reference for 2026 that matters:
Work that requires a TDLR-licensed technician by law:
- Refrigerant handling of any kind – adding, removing, recovering, or recharging refrigerant. Federal EPA Section 608 rules apply on top of state law, and the fines are steep: up to $44,539 per day per violation.
- New system installation – installing a new condenser, evaporator coil, furnace, or heat pump requires a permit in most San Antonio jurisdictions and a licensed installer to pull it.
- Replacement that alters the system’s design – swapping a unit for a different size or model requires load calculations and permit documentation.
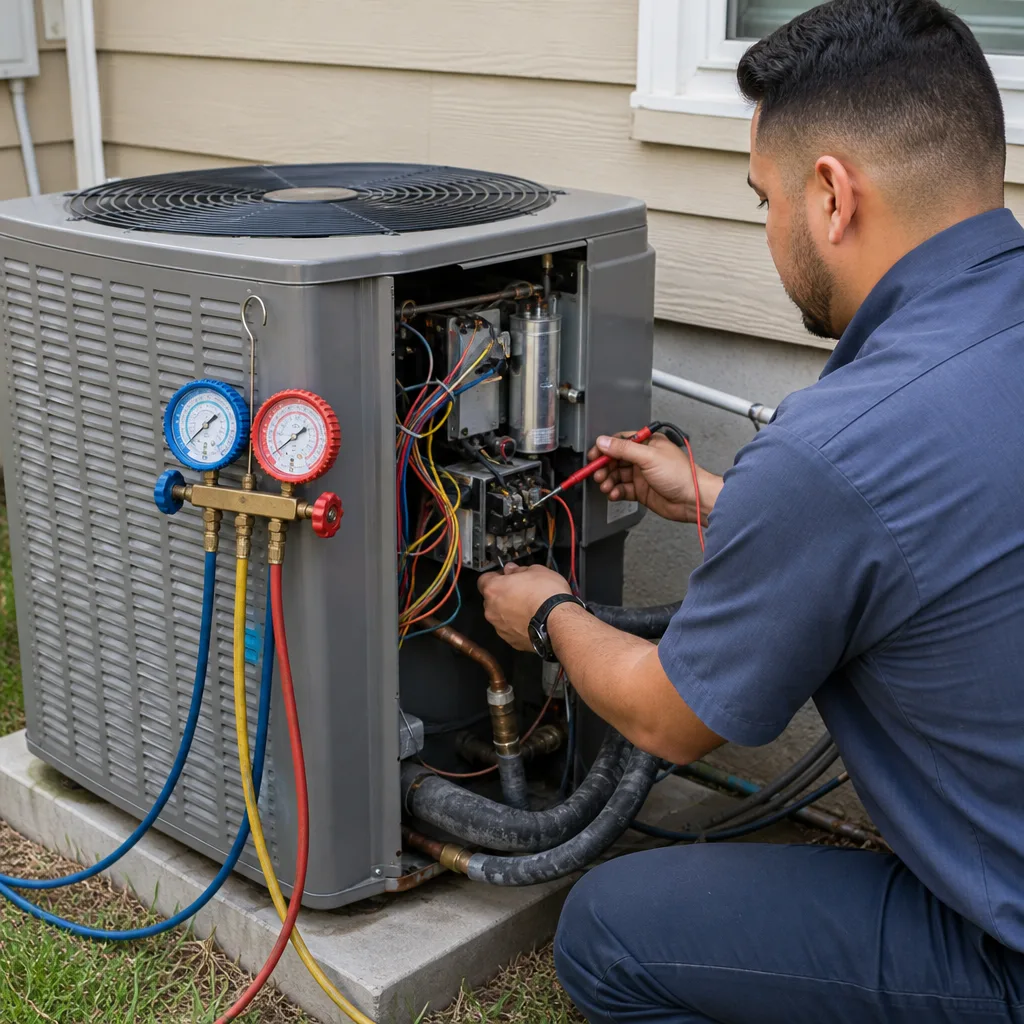
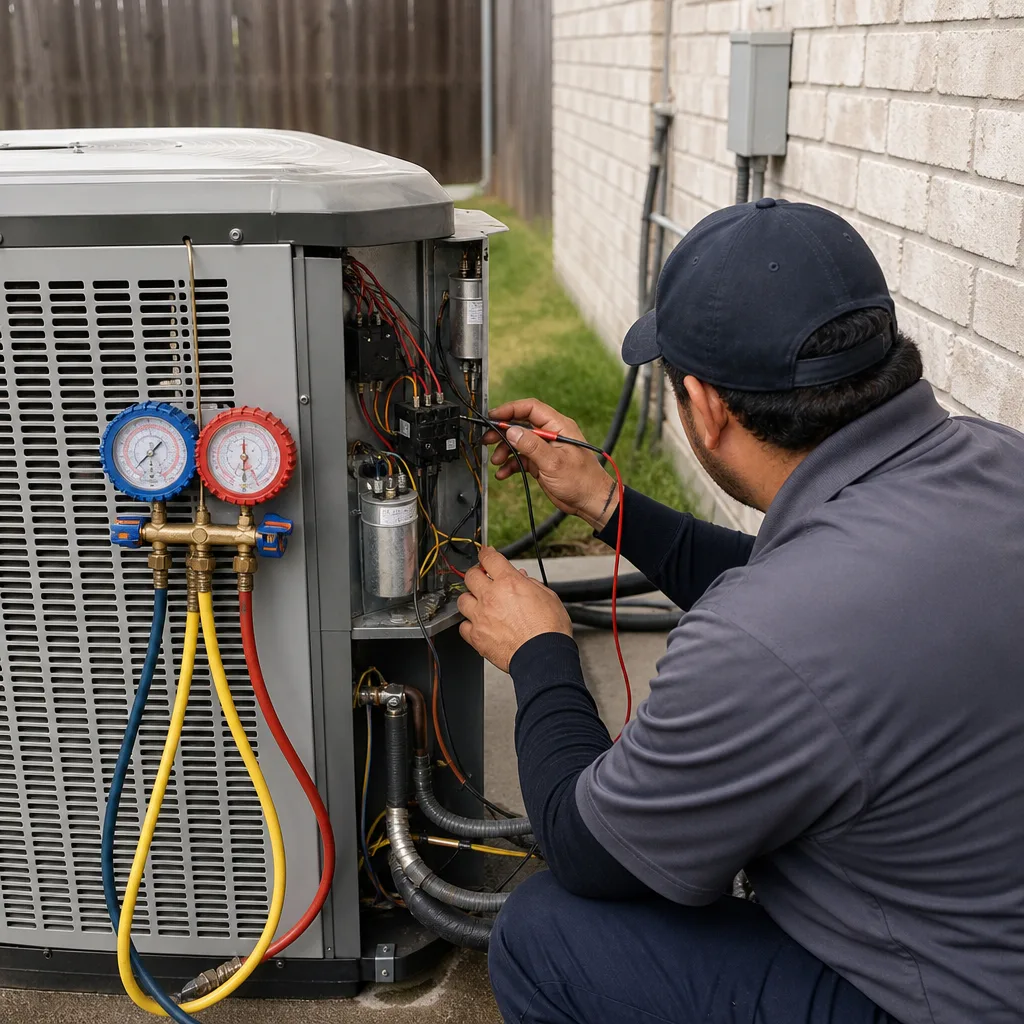
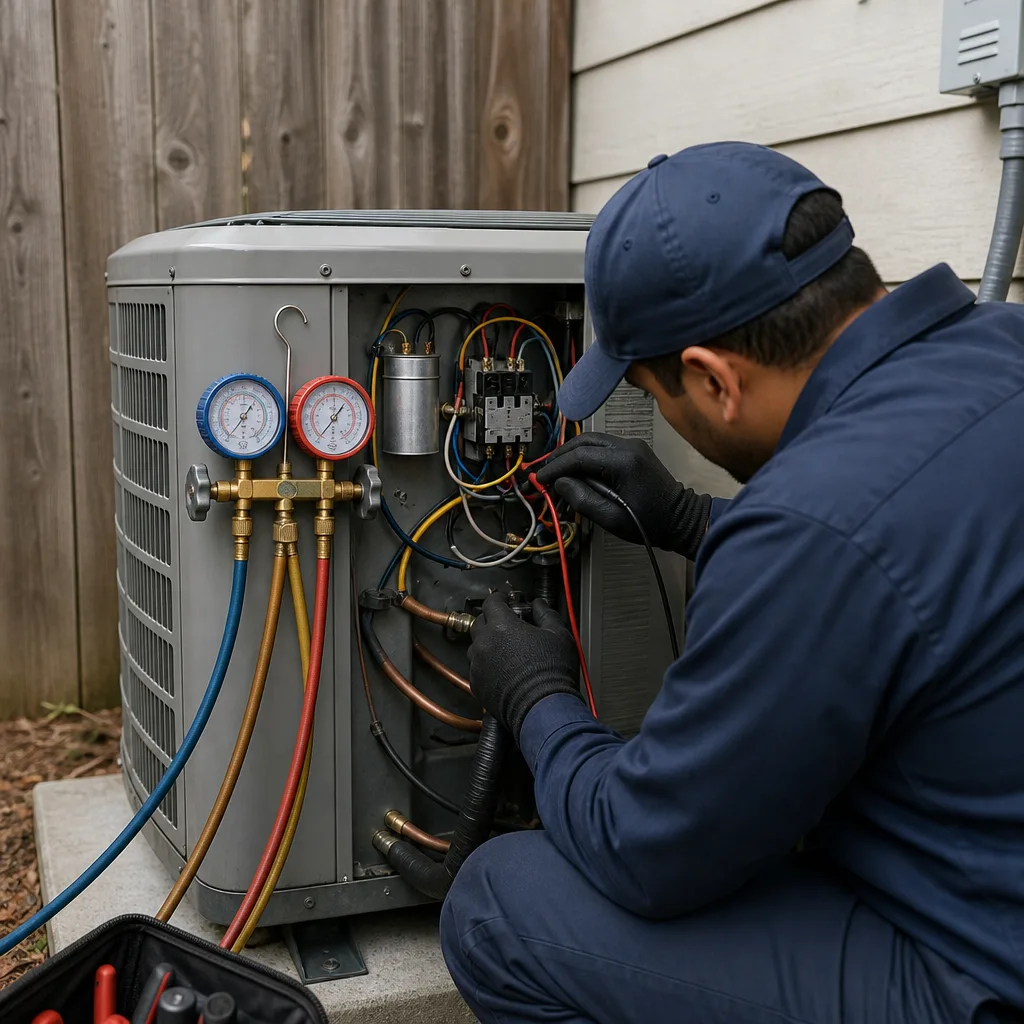
- Any work on electrical connections inside the unit – capacitors, contactors, control boards, compressor wiring. These components carry high voltage even when the system is off.
- Gas line work on furnaces – any connection, disconnection, or modification to a gas supply line is licensed work in Texas. Period.
Work homeowners can do without any license:
- Replace air filters
- Flush condensate drain lines
- Program and calibrate thermostats
- Clean outdoor condenser coils (with water only – no chemicals)
- Clear debris and vegetation from around the outdoor unit
- Inspect visible ductwork for obvious disconnections or gaps
If you’re reading this and realizing you’ve been putting off a repair because you thought you could “figure it out later,” know this: at Meadowsweet Heating and Air San Antonio, we’ve seen the aftermath of well-intentioned DIY repairs that turned into AC repair in San Antonio emergencies because a homeowner opened a panel they shouldn’t have. The legal boundary exists for a reason. It’s not about protecting our industry – it’s about protecting your family from a 240-volt surprise or a refrigerant burn.
The 5 DIY Tasks Worth Doing Yourself
These five tasks are where DIY actually pays off. Each one takes less than an hour, requires no special tools beyond what’s already in most San Antonio garages, and delivers measurable improvements to system performance. Do these monthly (or seasonally where noted), and you’ll extend the life of your equipment and catch small problems before they become four-figure repairs.
1. Filter Replacement (Monthly During Peak Seasons)
This is the single highest-ROI task in all of HVAC. In San Antonio, where your system runs hard from May through September, a clogged filter forces the blower motor to work harder, drives up energy use, and accelerates wear on the system. Replace 1-inch filters every 30 days during summer and winter peak, and every 60-90 days during spring and fall. If you have pets that shed, aim for every 30 days year-round.
How to do it: Locate the filter slot at the return vent or the air handler. Slide out the old filter, note the size printed on the frame, and slide in the new one with the arrow pointing toward the unit. That’s the whole job. A quality 1-inch filter costs $8-$15 at any San Antonio hardware store.
Why it matters more in San Antonio: The Hill Country cedar and oak pollen seasons (December-February and March-April) clog filters faster than most homeowners realize. If your filter looks gray or fuzzy after three weeks, you’re not replacing it too often – you’re replacing it exactly often enough.
2. Condensate Line Flushing (Quarterly)
San Antonio’s humidity means your AC pulls a lot of moisture from the indoor air. That moisture drains through a PVC pipe called the condensate line. Algae and mold grow in that pipe, and when it clogs, the drain pan overflows – usually onto the ceiling, drywall, or whatever sits beneath the air handler in the attic.
How to do it: Pour one cup of white vinegar or a 50/50 vinegar-water mix down the condensate drain line access point every 90 days. If you want to be thorough, use a wet/dry vacuum to suction the line from the outdoor exit point. This is a five-minute job that costs pennies.
San Antonio reality check: We see more condensate overflow calls in July and August than any other time of year. The line clogs, the pan fills, and because the air handler is in a hot attic above the insulation, the water damage goes unnoticed until it stains the ceiling below. A quarterly vinegar flush prevents roughly 80% of these failures.
3. Thermostat Programming (Once Per Season)
Your thermostat is the brain of the system. If it’s programmed wrong, you’re either uncomfortable or paying for cooling you don’t need. Take 20 minutes at the start of each season to review your schedule and settings.
What to check: Verify the temperature setbacks match your actual schedule. If the house is empty from 8am to 5pm on weekdays, set the thermostat to 78°F during those hours and 74-75°F when you’re home. If you have variable schedules, invest in a smart thermostat that learns your patterns. For families with kids and pets, programmable thermostats with separate “away” and “sleep” modes are worth every dollar.
A note on smart thermostats: Brands like American Standard, Carrier, and Trane all make smart thermostats that integrate with their equipment. If you’re replacing a thermostat, match the model to your system’s brand. A mismatched thermostat can prevent you from accessing advanced features like variable-speed control on higher-end equipment.
4. Condenser Coil Cleaning (Twice Per Year)
The outdoor unit – the big metal box in the side yard – contains the condenser coil. That coil sheds heat into the outdoor air. When it’s coated in dust, grass clippings, or cottonwood fluff, heat can’t escape, and your system runs longer and hotter to achieve the same indoor temperature.
How to do it: Turn off the unit at the breaker (or at the disconnect box next to the unit). Remove any leaves, grass clippings, or debris from around and inside the unit. Use a garden hose with a standard nozzle to spray the coil from top to bottom, working slowly and letting the water carry the dirt down and out. Do NOT use a pressure washer – it bends the coil fins. Do NOT use chemical coil cleaners unless you know what you’re doing – residue can accelerate corrosion. Water is enough.
When to do it in San Antonio: Once in March or April before cooling season starts, and once in October or November after cooling season ends. If you have mature live oaks dropping leaves near your outdoor unit, check it monthly during leaf-drop season.
This task matters because a dirty coil can raise your cooling bill by 10-20% in July. That’s real money on a $300 electric bill, and it’s preventable with a garden hose and 20 minutes.
5. Outdoor Unit Clearing (Monthly)
Your outdoor unit needs breathing room. The manufacturer specifies clearance requirements – typically 18-24 inches of open space on all sides and 48-60 inches above. When shrubs, stored boxes, or yard waste crowd the unit, airflow drops and system efficiency tanks.
How to do it: Walk around the unit once a month. Trim back any vegetation within two feet. Remove piled items that block airflow. Check that the unit sits level on its pad – settling soil in San Antonio’s clay-heavy ground can shift units over time. If the unit tilts more than a few degrees, note it; that’s a professional-level fix because the refrigerant lines don’t like being pulled out of level.
Pet and kid note: If you have dogs, check the base of the outdoor unit for urine marking. Dog urine is corrosive to the aluminum fins and copper lines. A small decorative fence or strategically placed landscaping rocks can direct pets away without blocking airflow.
What Your Warranty Actually Says About DIY Repairs
Most homeowners don’t read their HVAC warranty until something breaks. That’s a mistake, because the language-shaped by HVAC permits, codes & inspections in TX-in almost every major manufacturer’s warranty contains a clause that reads something like this:
“This warranty does not cover damage or failure caused by improper installation, improper repair, or unauthorized modification by persons not licensed or qualified to perform such work.”
That sentence – or a variation of it – appears in warranty documentation from Lennox, Trane, Carrier, and every other major brand. Here’s what it actually means for you as a San Antonio homeowner:
- If you open the sealed refrigerant circuit and the compressor fails six months later, the manufacturer can deny the parts warranty coverage. You’ll pay the full cost of a new compressor: $1,800-$3,200 installed.
- If you replace an electrical component yourself and it’s wired wrong, any resulting damage is excluded from warranty coverage. That includes the component you touched and anything downline of it.
- If you install a new system yourself (even if you bought the equipment legally), most manufacturers will void the parts warranty entirely. The warranty explicitly requires installation by a licensed contractor.
The good news: the five DIY tasks listed above do NOT void warranties. Filter changes, coil cleaning with water, condensate line flushing, thermostat programming, and debris clearing are all considered normal homeowner maintenance. In fact, most warranty documentation explicitly requires you to perform these tasks and may ask for proof that you did them if you file a claim.
Keep a simple log. Write down the date and what you did. If you ever need a warranty claim, having a maintenance record protects you. It’s the difference between a covered compressor replacement and a $2,500 bill.
San Antonio-Specific Risks That Change the DIY Calculus
DIY HVAC guidance from a national website misses something critical: location changes the risk profile. What’s safe in Portland or Minneapolis is riskier in San Antonio. Here’s why:
Heat Stress on Electrical Components
San Antonio routinely sees 95-100°F days from June through September. Your outdoor unit’s electrical components – capacitors, contactors, wiring connections – operate under sustained thermal stress. A capacitor that’s marginal in May becomes a failure risk in August. When you open an electrical panel to “take a look,” you’re exposing yourself to components that are already stressed. The risk of electrical shock or causing a short is higher in San Antonio’s summer than in a milder climate, simply because the parts are hotter and under more load.
Refrigerant Pressure Under High Ambient Heat
Refrigerant pressures rise with outdoor temperature. On a 100°F San Antonio afternoon, the high-side pressure in your system is significantly higher than on a 75°F day. That’s normal and the system is designed for it – but it means that any attempt to “add a little refrigerant” or “check the charge” without proper gauges and training is genuinely dangerous. A refrigerant line opened under high pressure can spray liquid refrigerant. That’s a frostbite and chemical burn risk.
Dust, Cedar, and Clog Patterns
San Antonio’s air is hard on HVAC systems in specific, predictable ways. Cedar pollen (December-February), live oak pollen (March-April), and general Hill Country dust mean filters clog faster and coils get dirty quicker than in most of the country. If you’re new to San Antonio from a milder or wetter climate, expect to replace filters twice as often as you did before.
Attic Installs and Insulation
A large percentage of San Antonio homes have the air handler and evaporator coil in the attic. Attic temperatures in August can exceed 130°F. That means a condensate overflow or coil issue causes three problems at once: the mechanical problem, the water damage risk, and the fact that any repair work happens in a 130°F attic. When the technician arrives at 2pm on a Tuesday, they’re working in conditions that genuinely test a person. This is also why we prioritize attic access courtesy – shoe covers, drop cloths, and a clean path to the attic access matter when the access is in a finished space like a closet or hallway.
The 3-Question Decision Framework
Before you attempt any HVAC task, run it through these three questions. If you answer “no” to any of them, call a professional. If you answer “yes” to all three, proceed with confidence.
Question 1: Does this task involve refrigerant, electricity, or gas?
If you have to ask “which of these wires does what” or “is that the refrigerant line” – stop. Refrigerant, electrical components, and natural gas are the three lines in HVAC that you do not cross without a license. The federal government, the state of Texas, and every equipment manufacturer agree on this. This question isn’t about your skill level. It’s about legal and safety boundaries that apply to everyone equally.
Proceed if: Your task is limited to filters, water-based cleaning, thermostat settings, or debris clearing.
Call if: The task involves turning a wrench on anything connected to the refrigerant lines, opening an electrical panel, or touching a gas fitting.
Question 2: Can I afford to be wrong?
This question is about cost asymmetry. A $15 filter replaced incorrectly costs you $15 and five minutes to redo. A $40 capacitor wired incorrectly can destroy a $700 control board or a $2,500 compressor. The asymmetry isn’t in your effort – it’s in the consequences of a mistake.
When evaluating a DIY task, estimate the worst-case outcome if you do it wrong. For a filter, the worst case is a slightly less efficient system for a month. For coil cleaning, the worst case is bent fins and reduced airflow. For anything involving tools you had to buy specifically for this job, the worst case probably justifies a professional.
Proceed if: The worst-case outcome costs less than the service call fee (typically $75-$150 in San Antonio).
Call if: The worst-case outcome involves water damage, electrical failure, or costly parts.
Question 3: Will my warranty still protect me if I do this?
Pull out your equipment documentation or check the manufacturer’s website. Look for the warranty section. Read the exclusions. If the task you’re considering falls under “normal homeowner maintenance” language, your warranty is intact. If it falls under “improper installation or repair,” it’s not.
Here’s a simple rule: if the task is listed in the owner’s manual under “Homeowner Maintenance,” it’s safe. If the manual says “contact a qualified service technician,” that’s not a suggestion. It’s a warranty boundary.
Proceed if: Your task appears in the owner’s manual’s homeowner maintenance section.
Call if: The manual references a “qualified service technician” for the task you’re considering. For more guides & resources on maintaining your system safely, explore our blog.
This framework takes four minutes to apply. It doesn’t require any technical knowledge. It just requires honest answers to three direct questions. And when the answer is “call,” Meadowsweet Heating and Air San Antonio home services area homeowners throughout the city, with a live person answering the phone 24/7.
Signs You’re Over Your Head: When the Unit Tells You to Stop
Even with the decision framework, sometimes you start a task and realize mid-way that you’re in over your head. Here’s how to recognize that moment before you make things worse:
The unit is making a noise you’ve never heard before
Buzzing, grinding, screeching, or humming from the outdoor unit or air handler is a bearing, motor, or compressor signal. These are not “try it and see” symptoms. The noise means a mechanical component is failing, and that component requires specialized tools and parts to replace. Continuing to run the system while you “research the noise” turns a $300 motor replacement into a $1,200 compressor failure.
You see ice on the refrigerant lines or indoor coil
Ice on an AC system means the refrigerant charge is off, the airflow is restricted, or the coil is too dirty to absorb heat properly. It does NOT mean you should chip the ice off and keep going. The root cause requires refrigerant gauges and a pressure check to diagnose – that’s licensed work. And running a frozen system damages the compressor.
Water is pooling where it shouldn’t be
If the condensate line flush hasn’t stopped the overflow, the problem is different: a cracked drain pan, a disconnected line, or a clog deeper than vinegar can reach. Left alone, an overflowing drain pan in an attic installation soaks the insulation, the ceiling joists, and eventually the drywall below. That’s a $50-$100 repair turning into a $2,000+ ceiling and insulation replacement.
You’ve spent more than an hour “figuring it out”
Time is the best indicator of overshoot. If you’ve been in the garage for an hour trying to find the right panel, reading forum posts, and watching videos, you’ve already spent more time than a furnace repair in San Antonio technician needs to diagnose the issue. Call and move on to the things you were actually going to do today.
DIY vs Professional: A Cost Comparison Table
Here’s a very practical look at what common HVAC tasks actually cost in the San Antonio market. These are realistic ranges based on what we see and what local hardware stores charge – not national averages that don’t match local reality.
| Task | DIY Cost | Professional Cost | Verdict |
|---|---|---|---|
| Filter replacement | $8-$15 per filter | $15-$25 per filter installed | DIY – clear win |
| Condensate line flush (vinegar) | $2-$5 per flush | $89-$149 per service | DIY – clear win |
| Thermostat programming | Free | $35-$75 per visit | DIY – clear win |
| Condenser coil cleaning | Free (garden hose) | $89-$179 per service | DIY – clear win |
| Outdoor unit clearing | Free | $50-$100 per visit | DIY – clear win |
| Capacitor replacement | $20-$40 (part only) | $180-$320 (part + labor + diagnosis) | Professional – electrical and high-voltage |
| Contactor replacement | $15-$35 (part only) | $150-$300 (part + labor) | Professional – electrical and high-voltage |
| Refrigerant recharge | Not legal without EPA 608 | $150-$500 depending on charge and refrigerant type | Professional – required by law |
| AC system replacement | Not practical or legal without TDLR license | $5,500-$14,000 depending on size, efficiency, and brand | Professional – required by law |
Notice the pattern: the DIY-friendly tasks are all under $20 in materials and under an hour in time. The professional-only tasks are all on the electrical, refrigerant, or full-system-replacement side of the map. That pattern isn’t a coincidence. It’s the precise line between maintenance and repair, and it’s drawn by legal, warranty, and safety boundaries – not by industry preference.
A note on that capacitor temptation
Capacitors are the most tempting DIY repair because the part is cheap and tutorial videos make it look easy. The capacitor stores electricity even when the power is off. It can hold a charge strong enough to hurt you. The labor cost you pay a technician includes safely discharging the capacitor, handling the wiring correctly, and verifying the fix didn’t mask another problem. That’s one of those jobs where the part is cheap and the expertise is expensive – and the expertise is worth it.
Common Mistakes to Avoid
- Using a pressure washer on the condenser coil. The high-pressure water bends the aluminum fins flat. Once fins are bent, airflow drops and you’ve made the problem worse. The garden-hose method works because it’s gentle.
- Skipping the breaker shutoff before touching anything outside. The outdoor unit has a disconnect box for a reason. Kill the power at the breaker or disconnect before you clean, clear, or inspect. Even for “just a look,” the fan can cycle on unexpectedly.
- Buying the cheapest filter you can find. The $2 fiberglass filters at the big box store capture very little. They let dust and pollen through to the coil and blower. A MERV 8-11 pleated filter is the right balance of airflow and filtration for most San Antonio homes.
- Closing vents in unused rooms to save energy. Your system was designed for a specific airflow balance. Closing vents raises static pressure, forces the blower to work harder, and in the worst case freezes the indoor coil. It doesn’t save meaningful energy in most homes.
- Ignoring a mildly weird noise for a season. That intermittent buzz from the outdoor unit is a failing contactor or capacitor giving you fair warning. Catching it early is $200. Catching it in August at 5pm is $400 and a hot night in the house. When the noise changes, act.
- Spraying coil cleaner without reading the instructions. Some chemical cleaners require rinsing within a specific time window. Others react with certain coil metals. Water is always safe. Chemicals are only safe when you know exactly what you’re using and why.
- Thinking a smart thermostat will fix an old system’s efficiency. A thermostat optimizes the schedule, but it can’t improve the mechanical efficiency of a 15-year-old system. If your system is inefficient, a new AC installation in San Antonio is the solution – not a thermostat upgrade.
When to Call a Professional
Call a professional when the problem touches refrigerant, electrical components, gas lines, or when the system’s behavior changes in a way that suggests mechanical failure. That means: warm air blowing instead of cold, ice on the equipment, strange noises, water where it shouldn’t be, or the system cycling on and off repeatedly in a way it never did before.
When you call, here’s what should happen: a live person answers, schedules a real appointment window, and gives you a written price before any work begins. The technician shows up in uniform, puts on shoe covers at the door, and lays down drop cloths around the work area. Before they leave, they show you a photo of the cleaned-up space.
That’s the standard at Meadowsweet Heating and Air San Antonio. Luis Serrano leads our team, and every visit – from a capacitor replacement to a full system swap – follows the same care routine. We provide free estimates across San Antonio. Call (254) 271-2545 to schedule.
Frequently Asked Questions
No. Adding or removing refrigerant requires an EPA Section 608 certification. Federal fines for unauthorized refrigerant handling run up to $44,539 per day per violation, and Texas TDLR rules require a license for refrigerant work. This is not a gray area – it’s one of the clearest lines in the entire HVAC landscape.
No. Filter replacement is normal homeowner maintenance and is explicitly expected by manufacturer warranties. In fact, failing to change filters regularly can void coverage if the manufacturer determines the failure resulted from restricted airflow caused by a dirty filter. Change it monthly during peak seasons and keep a simple log of when you did it.
A homeowner who handles all five DIY tasks – filters, condensate flushing, thermostat programming, coil cleaning, and unit clearing – saves roughly $250-$450 per year in service call fees and extends equipment life by an estimated 3-5 years. The savings from a clean coil alone can reach $10-$30 per month during San Antonio’s peak cooling months.
Attempting to fix a refrigerant leak with a leak-seal product from the auto parts store. These products are designed for automotive systems, not residential HVAC equipment. They clog the metering device, contaminate the refrigerant charge, and often turn a $400 repair into a $2,500 compressor replacement. The second most expensive: opening the electrical panel to “look for loose wires” and shorting a control board.
If the outdoor unit runs but the air isn’t cold, it’s likely a refrigerant issue. If the outdoor unit doesn’t run at all, or clicks, buzzes, or hums without starting, it’s likely electrical. Both require a licensed technician to diagnose and repair safely. Don’t try to pinpoint the exact component yourself – the act of investigating typically requires opening panels that are best left closed.
Local jurisdictions within the San Antonio area generally require a permit for HVAC system replacement, and the permit must be pulled by a licensed contractor. The contractor also handles the inspection scheduling. Homeowners who pull their own permits (where allowed) take on liability for ensuring the installation meets code, and most equipment manufacturers will not honor a warranty on a self-installed system.
The Bottom Line
The DIY-versus-professional HVAC question in San Antonio has a clear, defensible answer: do the five maintenance tasks yourself, and call a licensed technician for everything else. Filters, condensate flush, thermostat, coil rinsing, and unit clearing – those are homeowner responsibilities that save you money and extend equipment life. Refrigerant, electrical, gas, and system replacement – those are licensed, regulated, and warranty-protected. The distinction isn’t about how handy you are. It’s about law, safety, and what a warranty will actually cover when something goes wrong five years from now. When the call is the right call, Meadowsweet Heating and Air San Antonio is ready: a live person answers 24/7, a written price comes before any work, shoe covers and drop cloths protect the floors, and a photo of the clean-up is sent before the crew leaves.
Written by Luis Serrano, Owner at Meadowsweet Heating and Air San Antonio, serving San Antonio since 2004.
See the difference
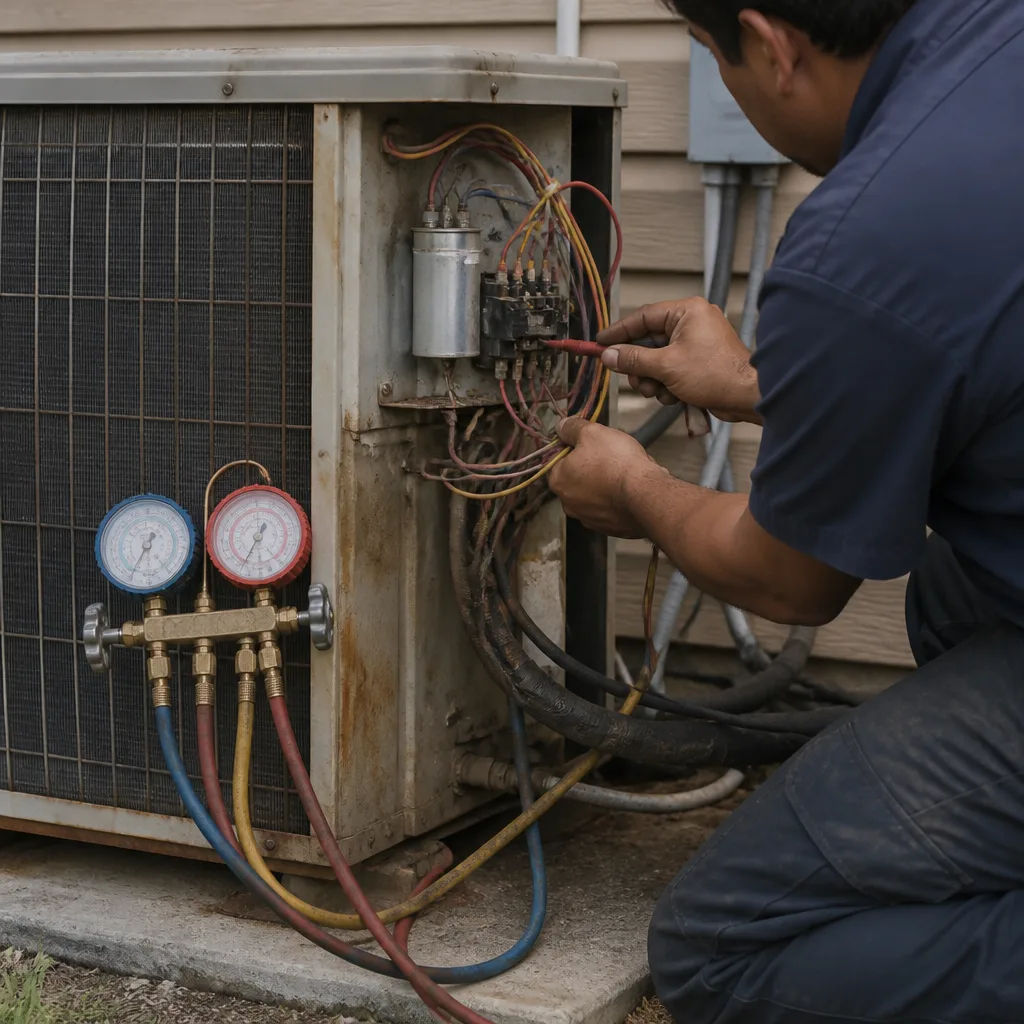 Before
 After
After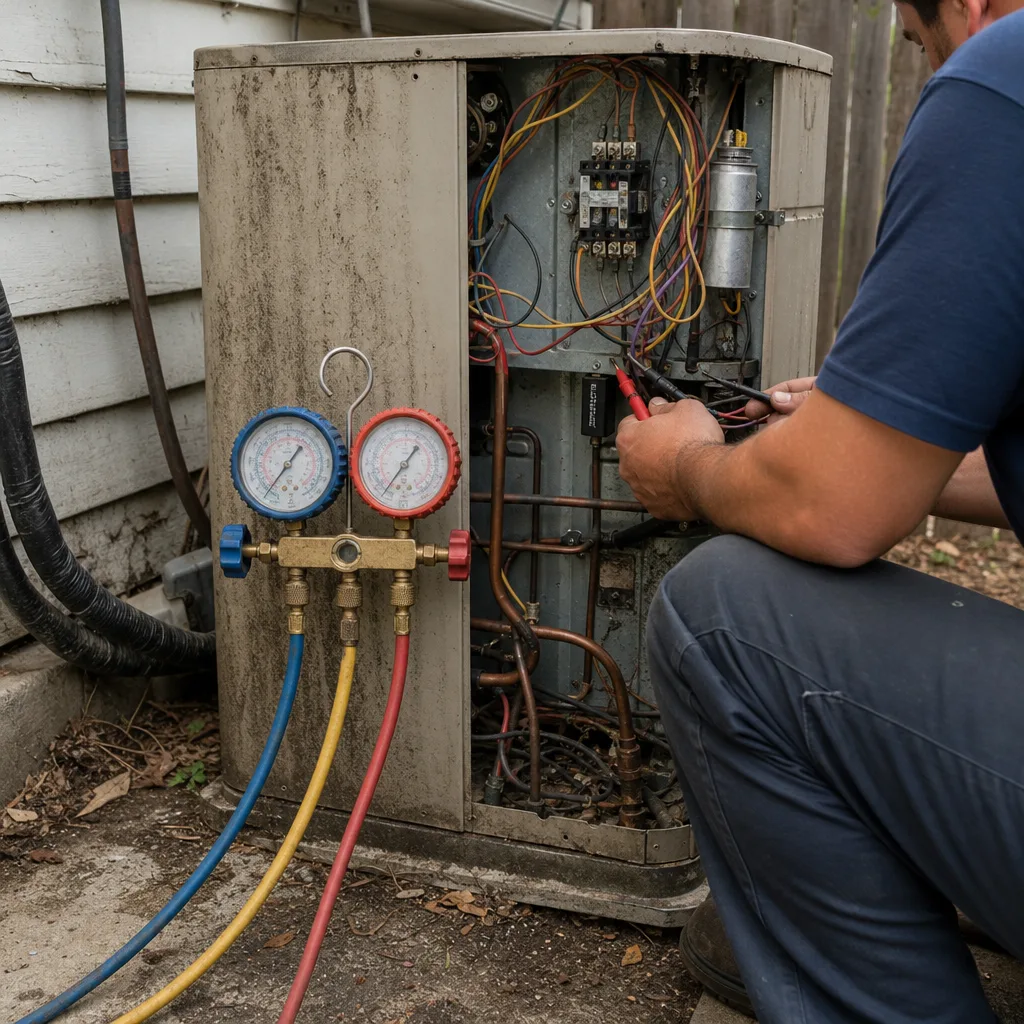 Before
 After
After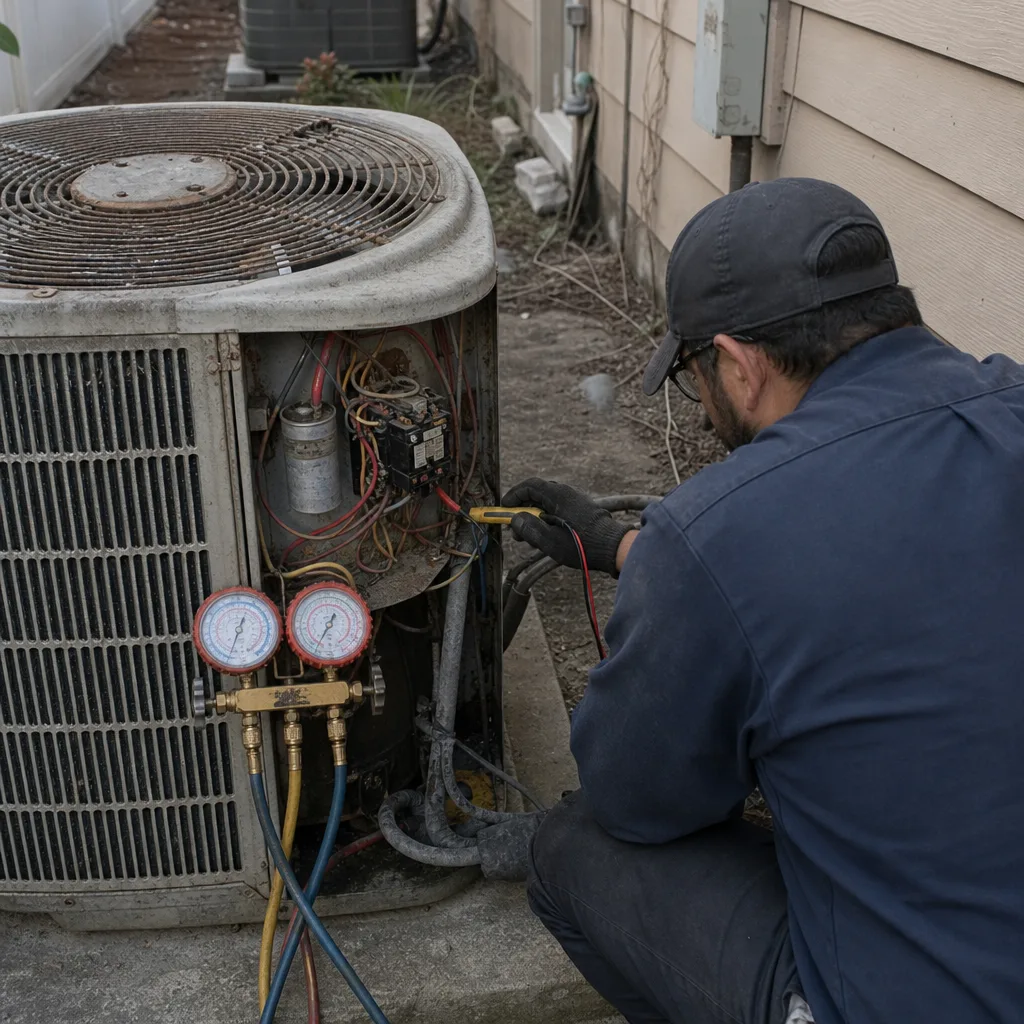 Before
 After
After